
Become a part of the Glacier ecosystem by setting up your node with this simple step-by-step guide. This walkthrough will ensure a seamless setup process and provide everything you need to successfully launch your node on the Glacier Testnet.
What is Glacier?
Glacier is a decentralized blockchain network designed to empower users and foster genuine participation in the ecosystem. With Verifier Nodes and its Testnet now live, Glacier offers several unique benefits:
-
Truly Decentralized: Glacier ensures a fair and open network accessible to all.
-
Earn Rewards: Participants running Glacier nodes can earn $GLS, $GLS Points, and gain exclusive whitelist opportunities.
-
Community-Centric: Built for real contributors, Glacier actively deters sybil attackers and prioritizes genuine users.
-
Empowering Everyone: A network designed to give everyone the opportunity to engage in the blockchain revolution.
By running a Glacier node, you become part of a decentralized future, contributing to the network's integrity, security, and growth.
Step 1: Purchase Your Node
-
Head over to mintair.xyz and log into your account.
-
Navigate to the node marketplace and look for the Glacier node option.
-
Select your preferred plan and complete the purchase process.

Step 2: Copy Your Private Key
-
After purchasing the node, copy the private key from the Active Nodes
-
Store this private key securely—do not share it with anyone.

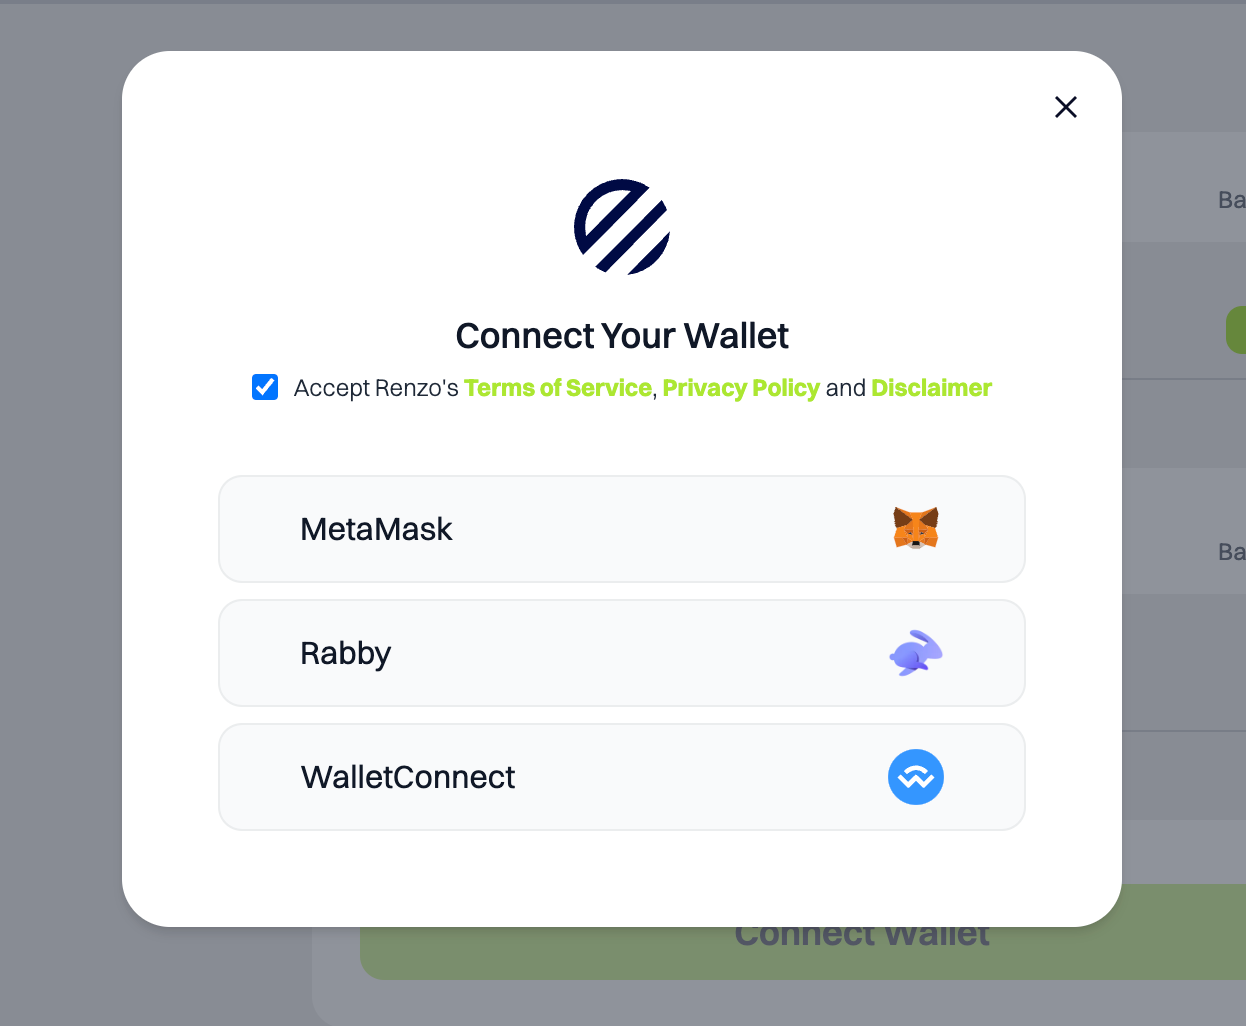
Step 3: Import Private Key to MetaMask
-
Open your MetaMask wallet (or install it if you haven’t already).
-
Click on your account icon in the top-right corner and select Import Account.
-
Paste the private key from Step 2 and complete the process.
-
Once imported, ensure you’re connected to the opBNB Testnet.
Step 4: tBNB Swap to opBNB
- To cover node operation fees, you’ll need testnet opBNB tokens:
-
Enter your node wallet address to request testnet BNB (tBNB)
-
After receiving tBNB in your wallet Connect your node wallet to the opBNB Swap
-
This platform allows you to convert your tBNB into opBNB testnet tokens.

Step 5: Wait for a Few Hours
-
Once the faucet tokens are claimed, your node will begin syncing.
-
This process might take a few hours. Please be patient while the system sets up your node on the Glacier network.
Step 6: Verify Node Status
-
After a few hours, check your node status:
-
Visit Node Status Dashboard.
-
Click on your Profile to view your node status.
-

Key Notes
-
Make sure to double-check all wallet addresses and private key inputs during the setup process.
-
If you encounter any issues, feel free to reach out to the Glacier support team on Discord.


评论 (0)