
You’ve decided to step up and add your project to the Explorer! That’s fantastic, and the open-source community appreciates your effort. There are 2 ways you can do this, either through GitHub directly, or through our new editor.
In this article, we’ll explain roughly how the web editor works, and which steps you should take.
How to do it through GitHub, check the ReadMe.md here.
Rather watch a video? Go here or scroll to the end.
Step 1
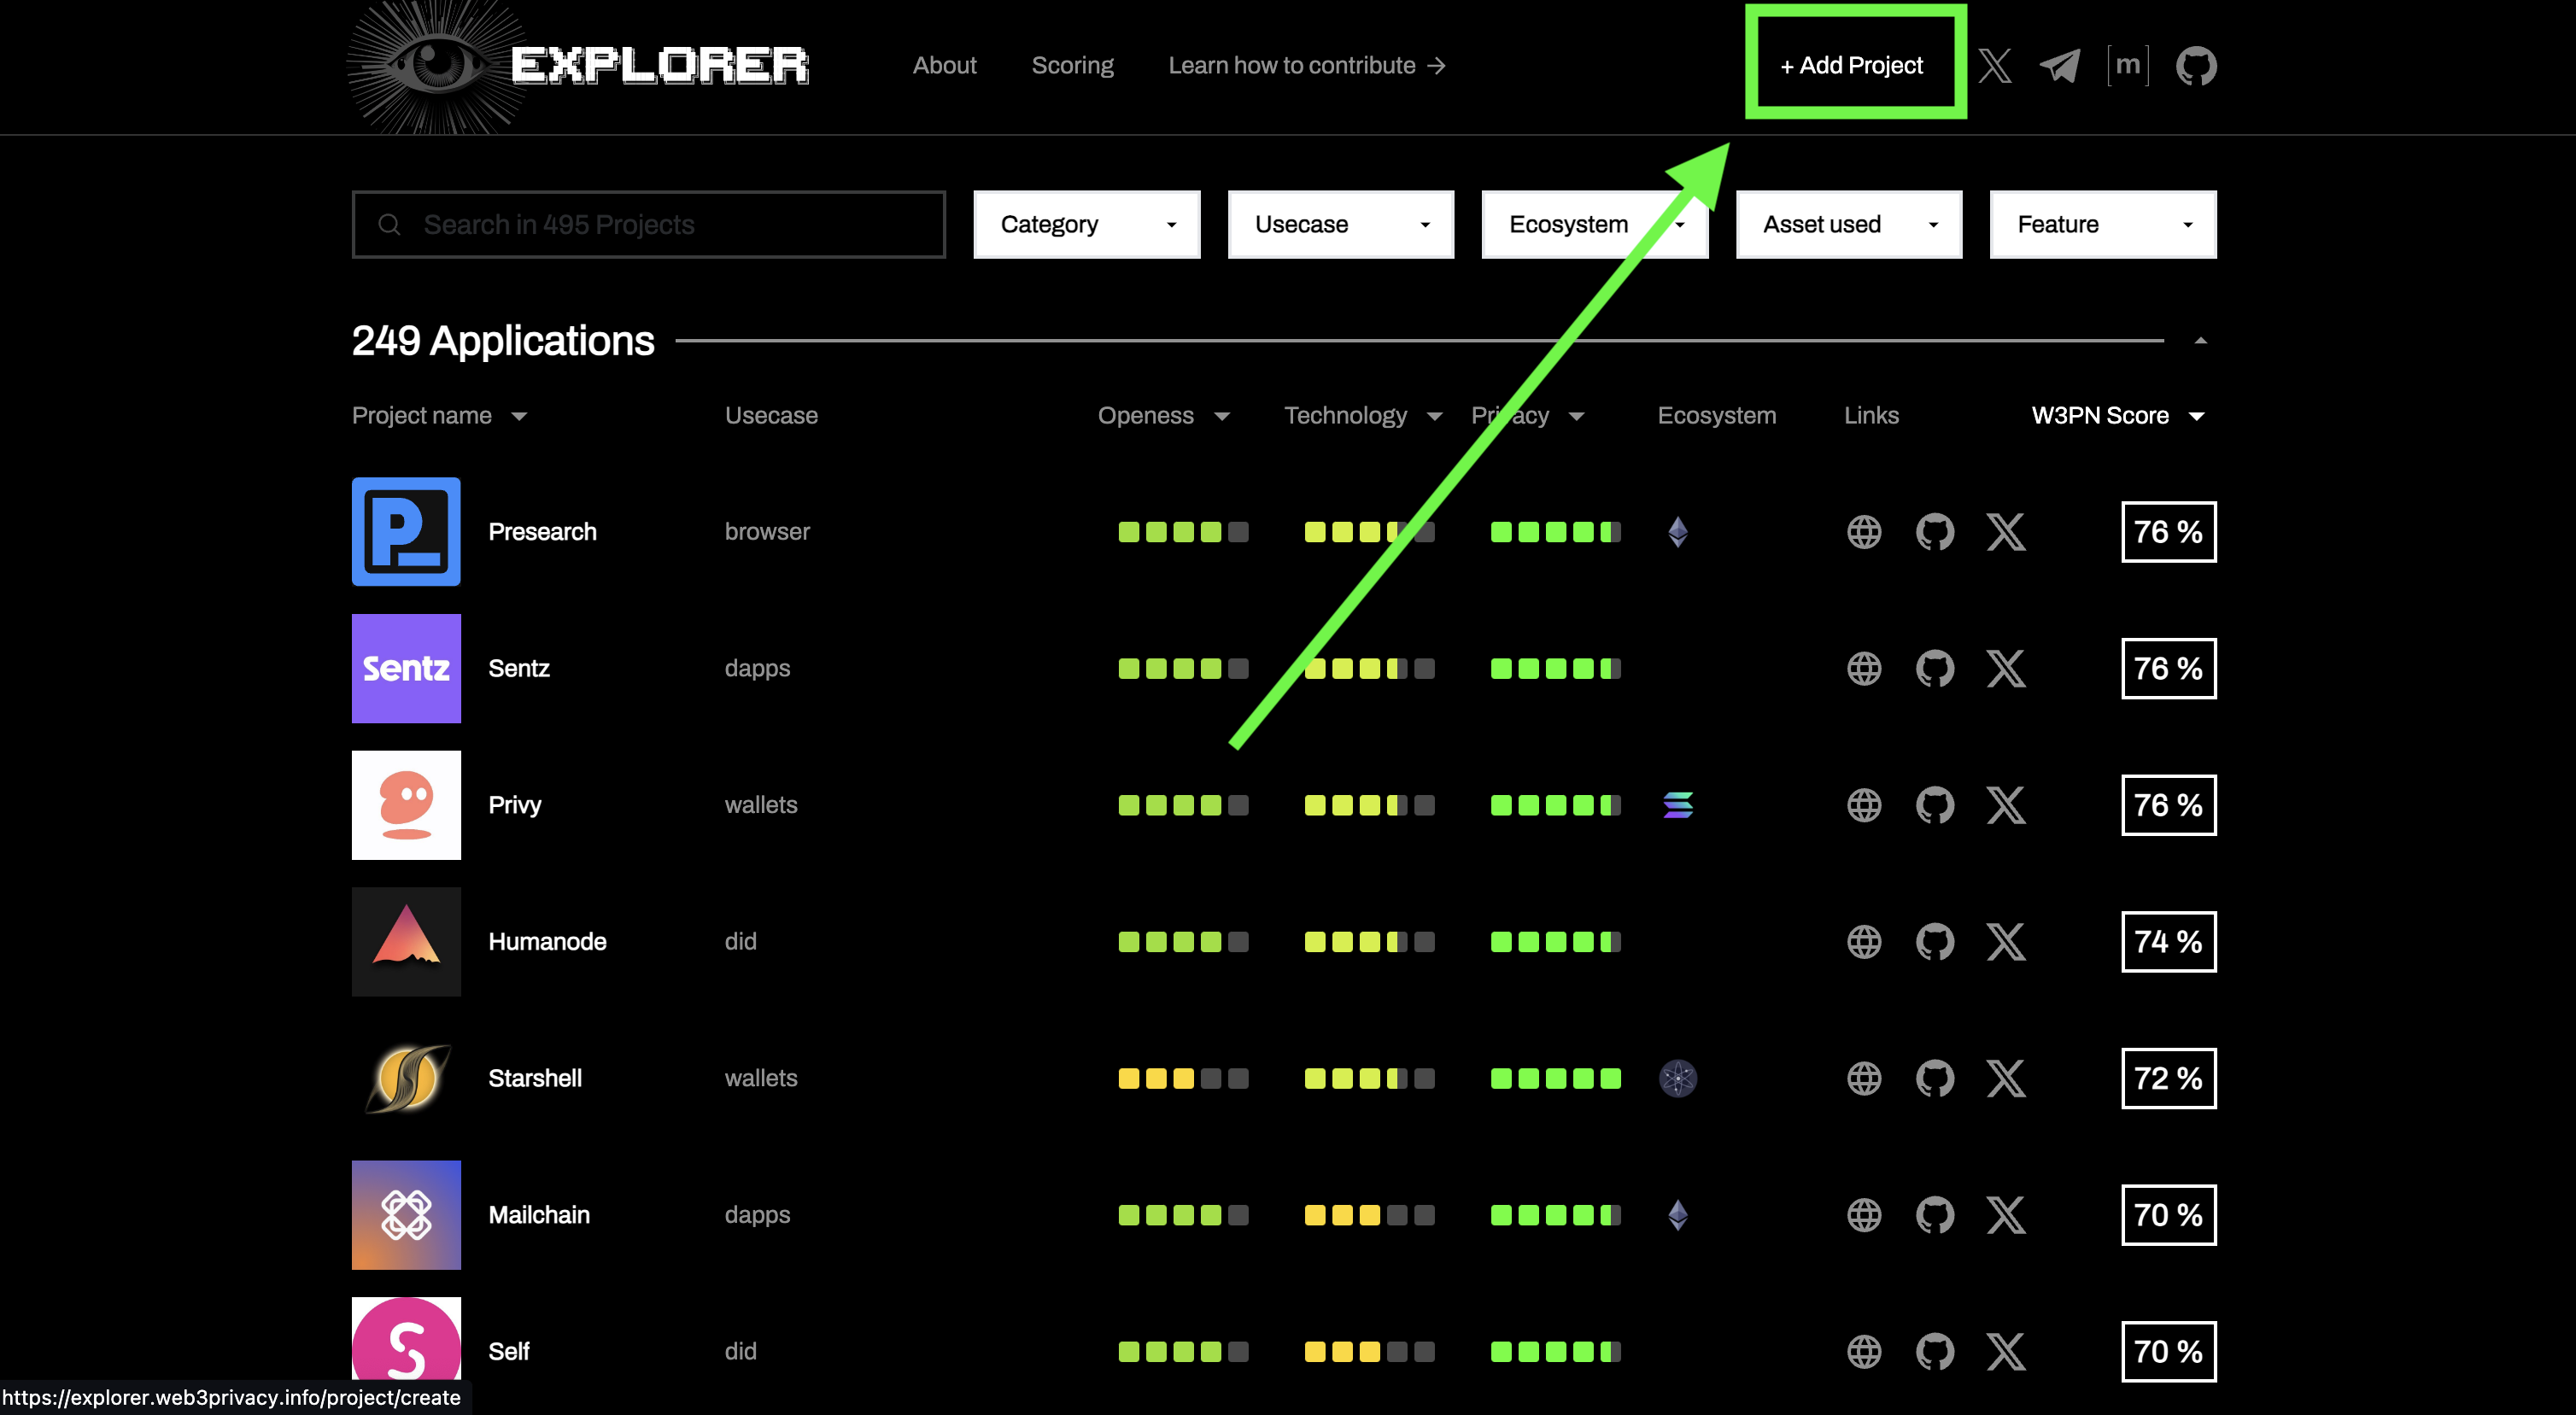
Go to explorer.web3privacy.info and find the + Create new project button.
Step 2: Basic & required information
Fill in the basic and required information.
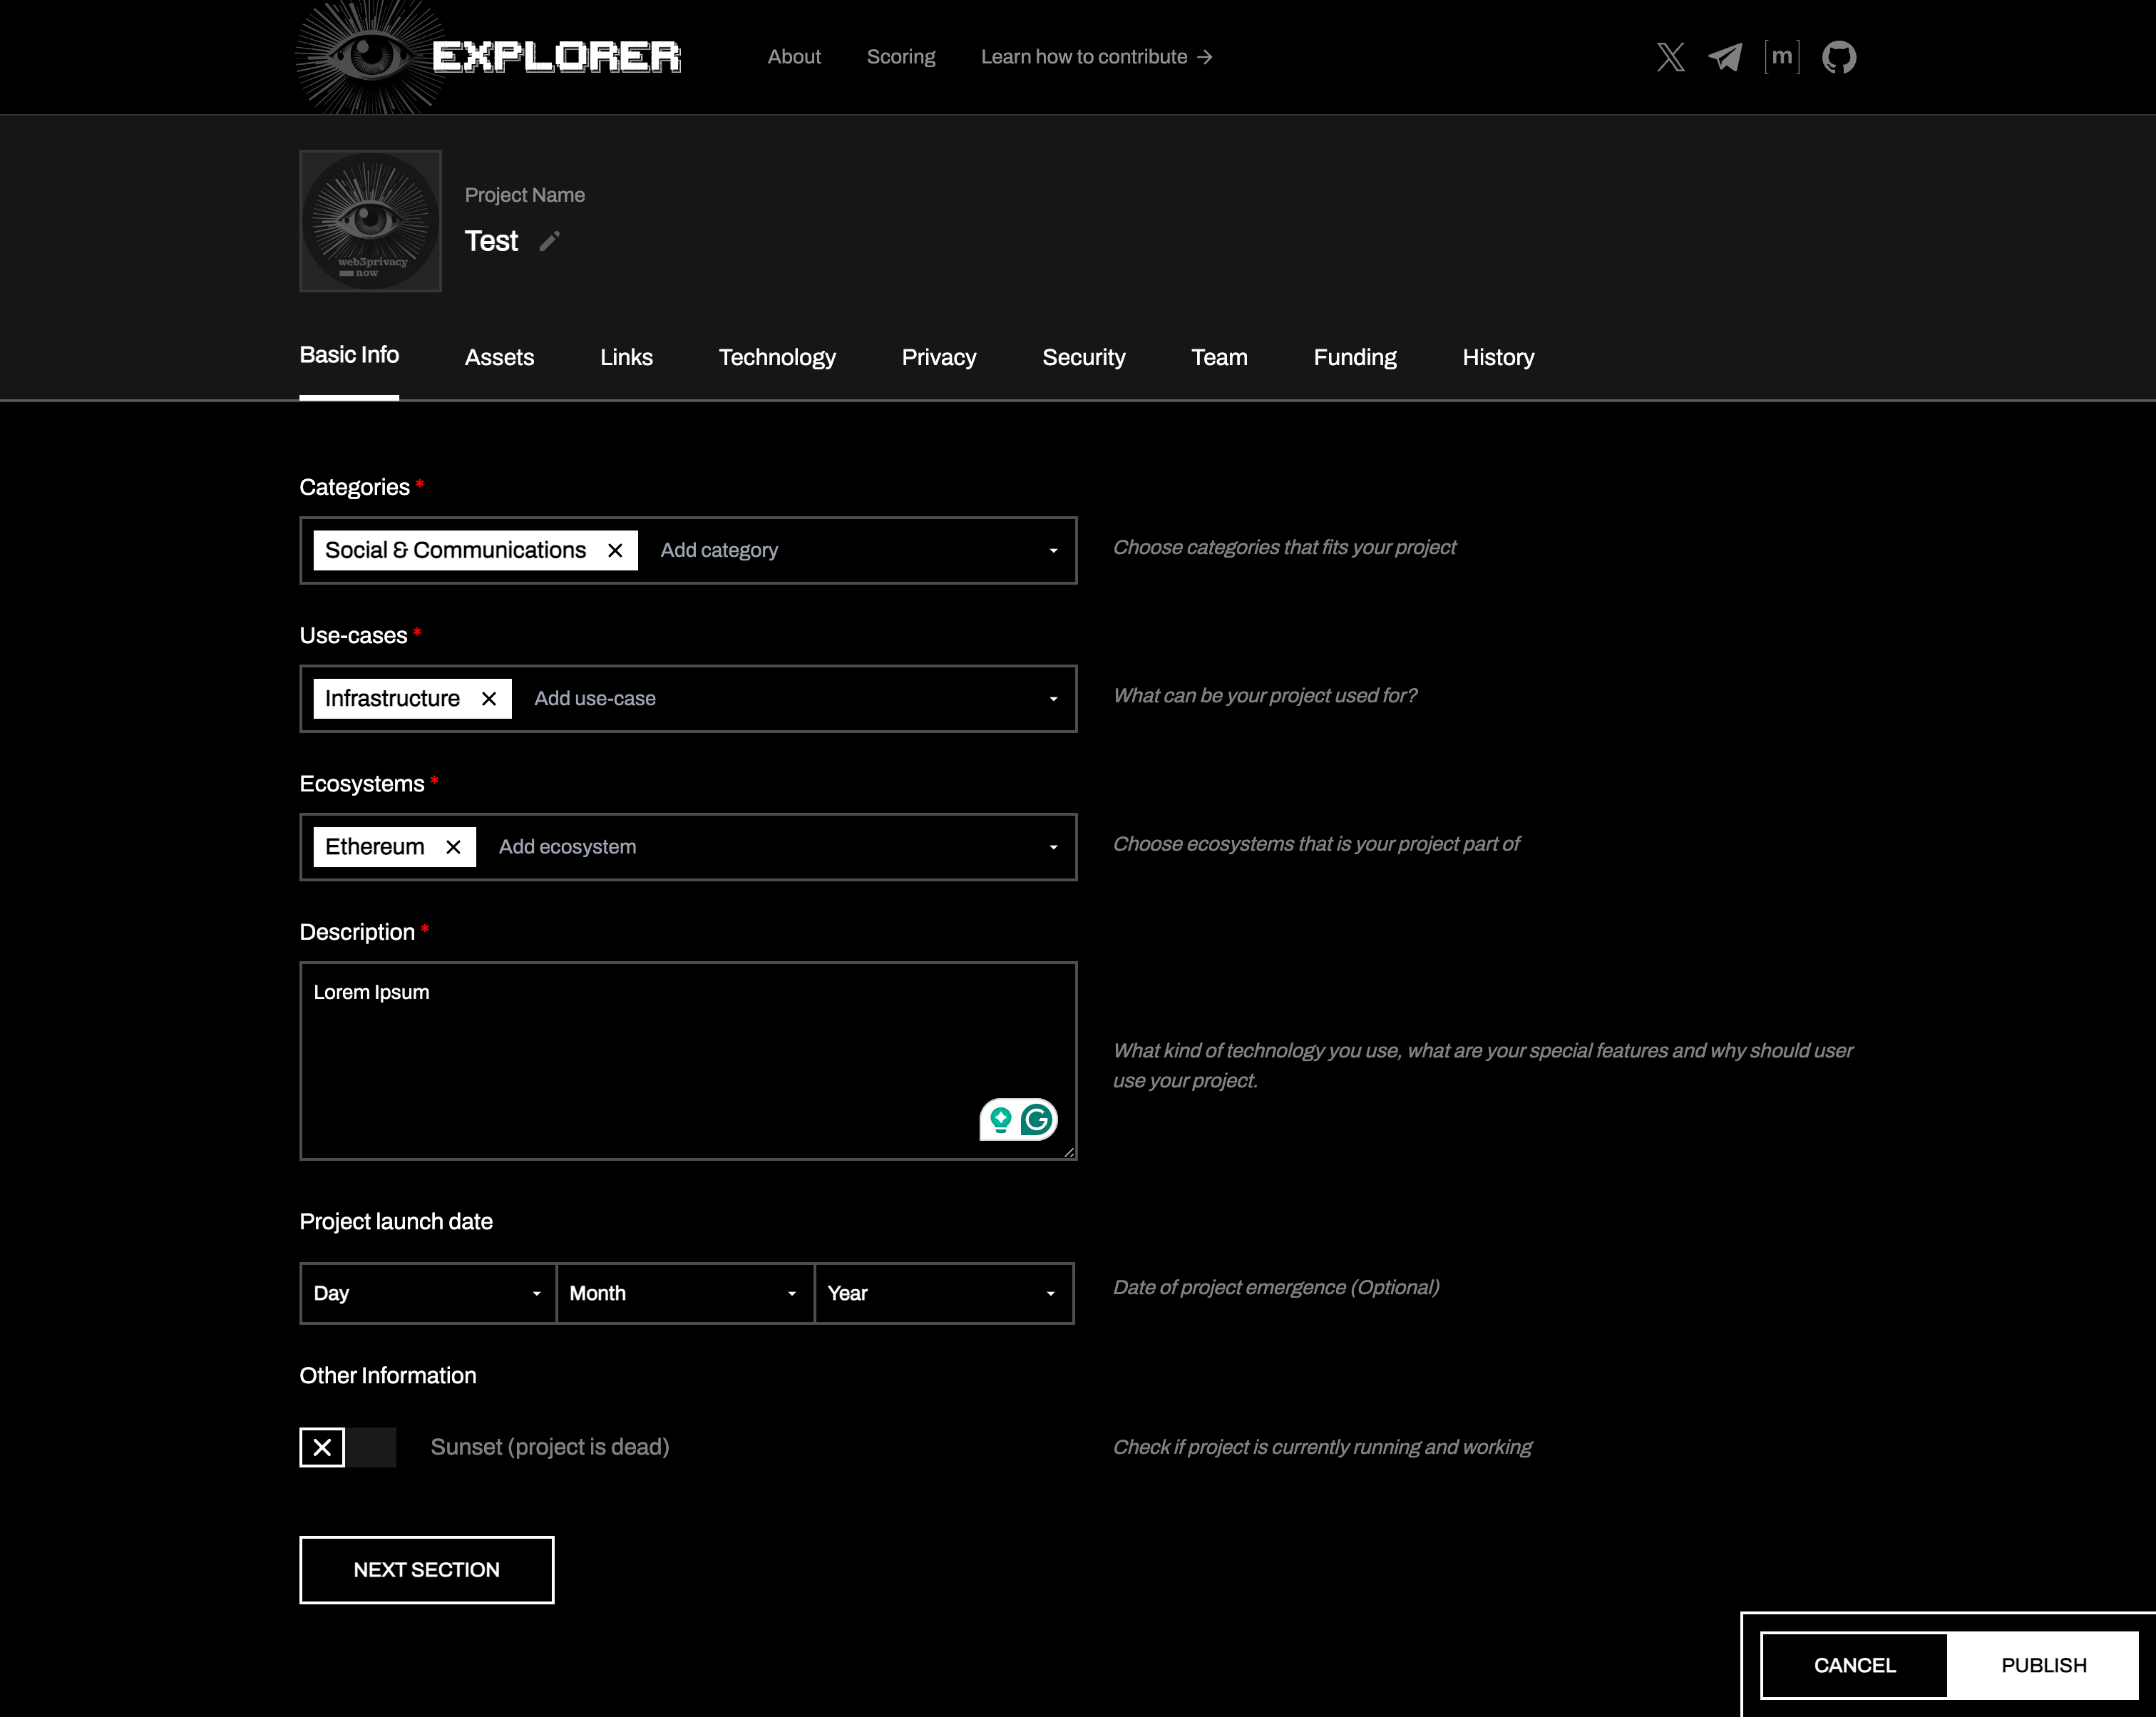
Make sure to include the logo in .png, in the top left corner, next to the name.
We have a bunch of premade categories & use cases. If you feel like yours is not included here, and “others” doesn’t justify yours. Feel free to raise an issue here.
As with this step, and all the upcoming steps, you can go to the next section by pressing the button “next section” or by pressing in the header the specific sections you’d like to jump to.
Or press “publish” in case you’re done with adding information.
Be aware! The less detailed information, the lower your score will be.
Step 3: Fill in more detailed information
You will get a higher rating and more chances on people using your project by filling in more detailed information, we’ll showcase each field and provide minor information to assist you on the way.
Assets
In this section, we will import all the information regarding which assets a project is using. This is particularly useful for people who’re keen to find projects to utilise with pre-existing assets they might have already.

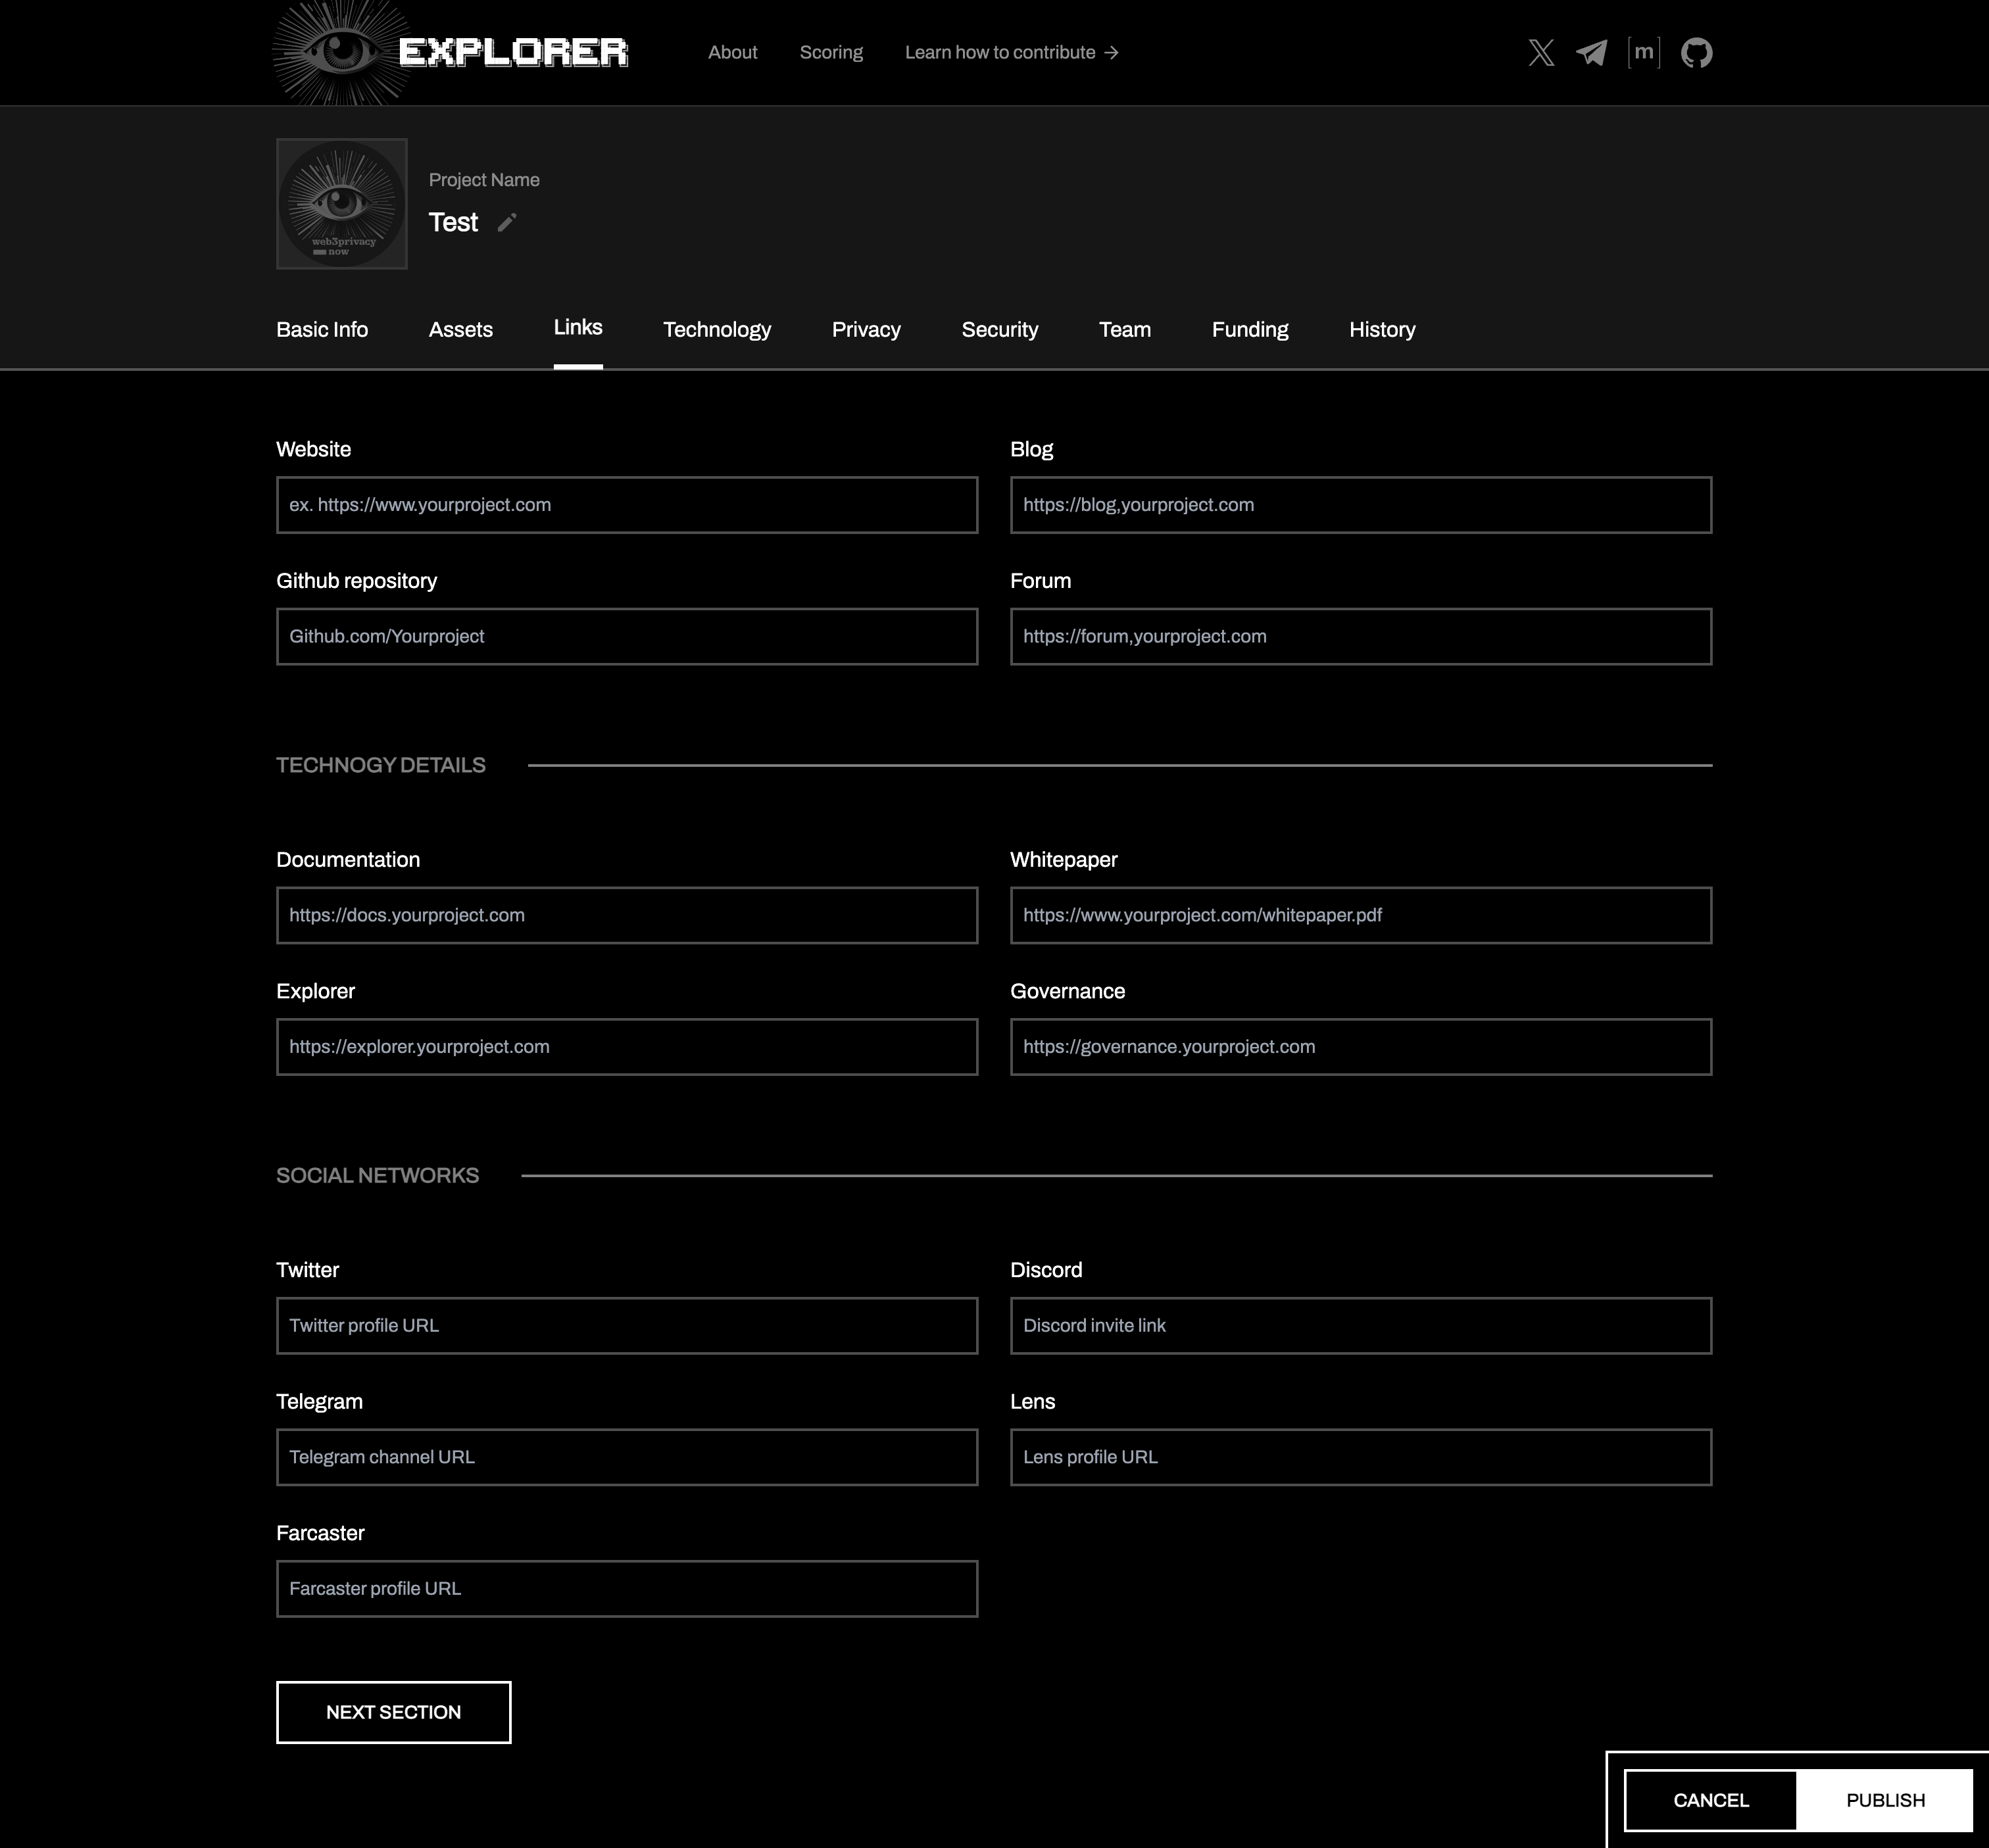
Links
Here, it’s important to give your viewers information on where they can find your project online. From sharing your GitHub to blogs to socials, everything that’s useful for one researching your project and will guide them in the right direction.
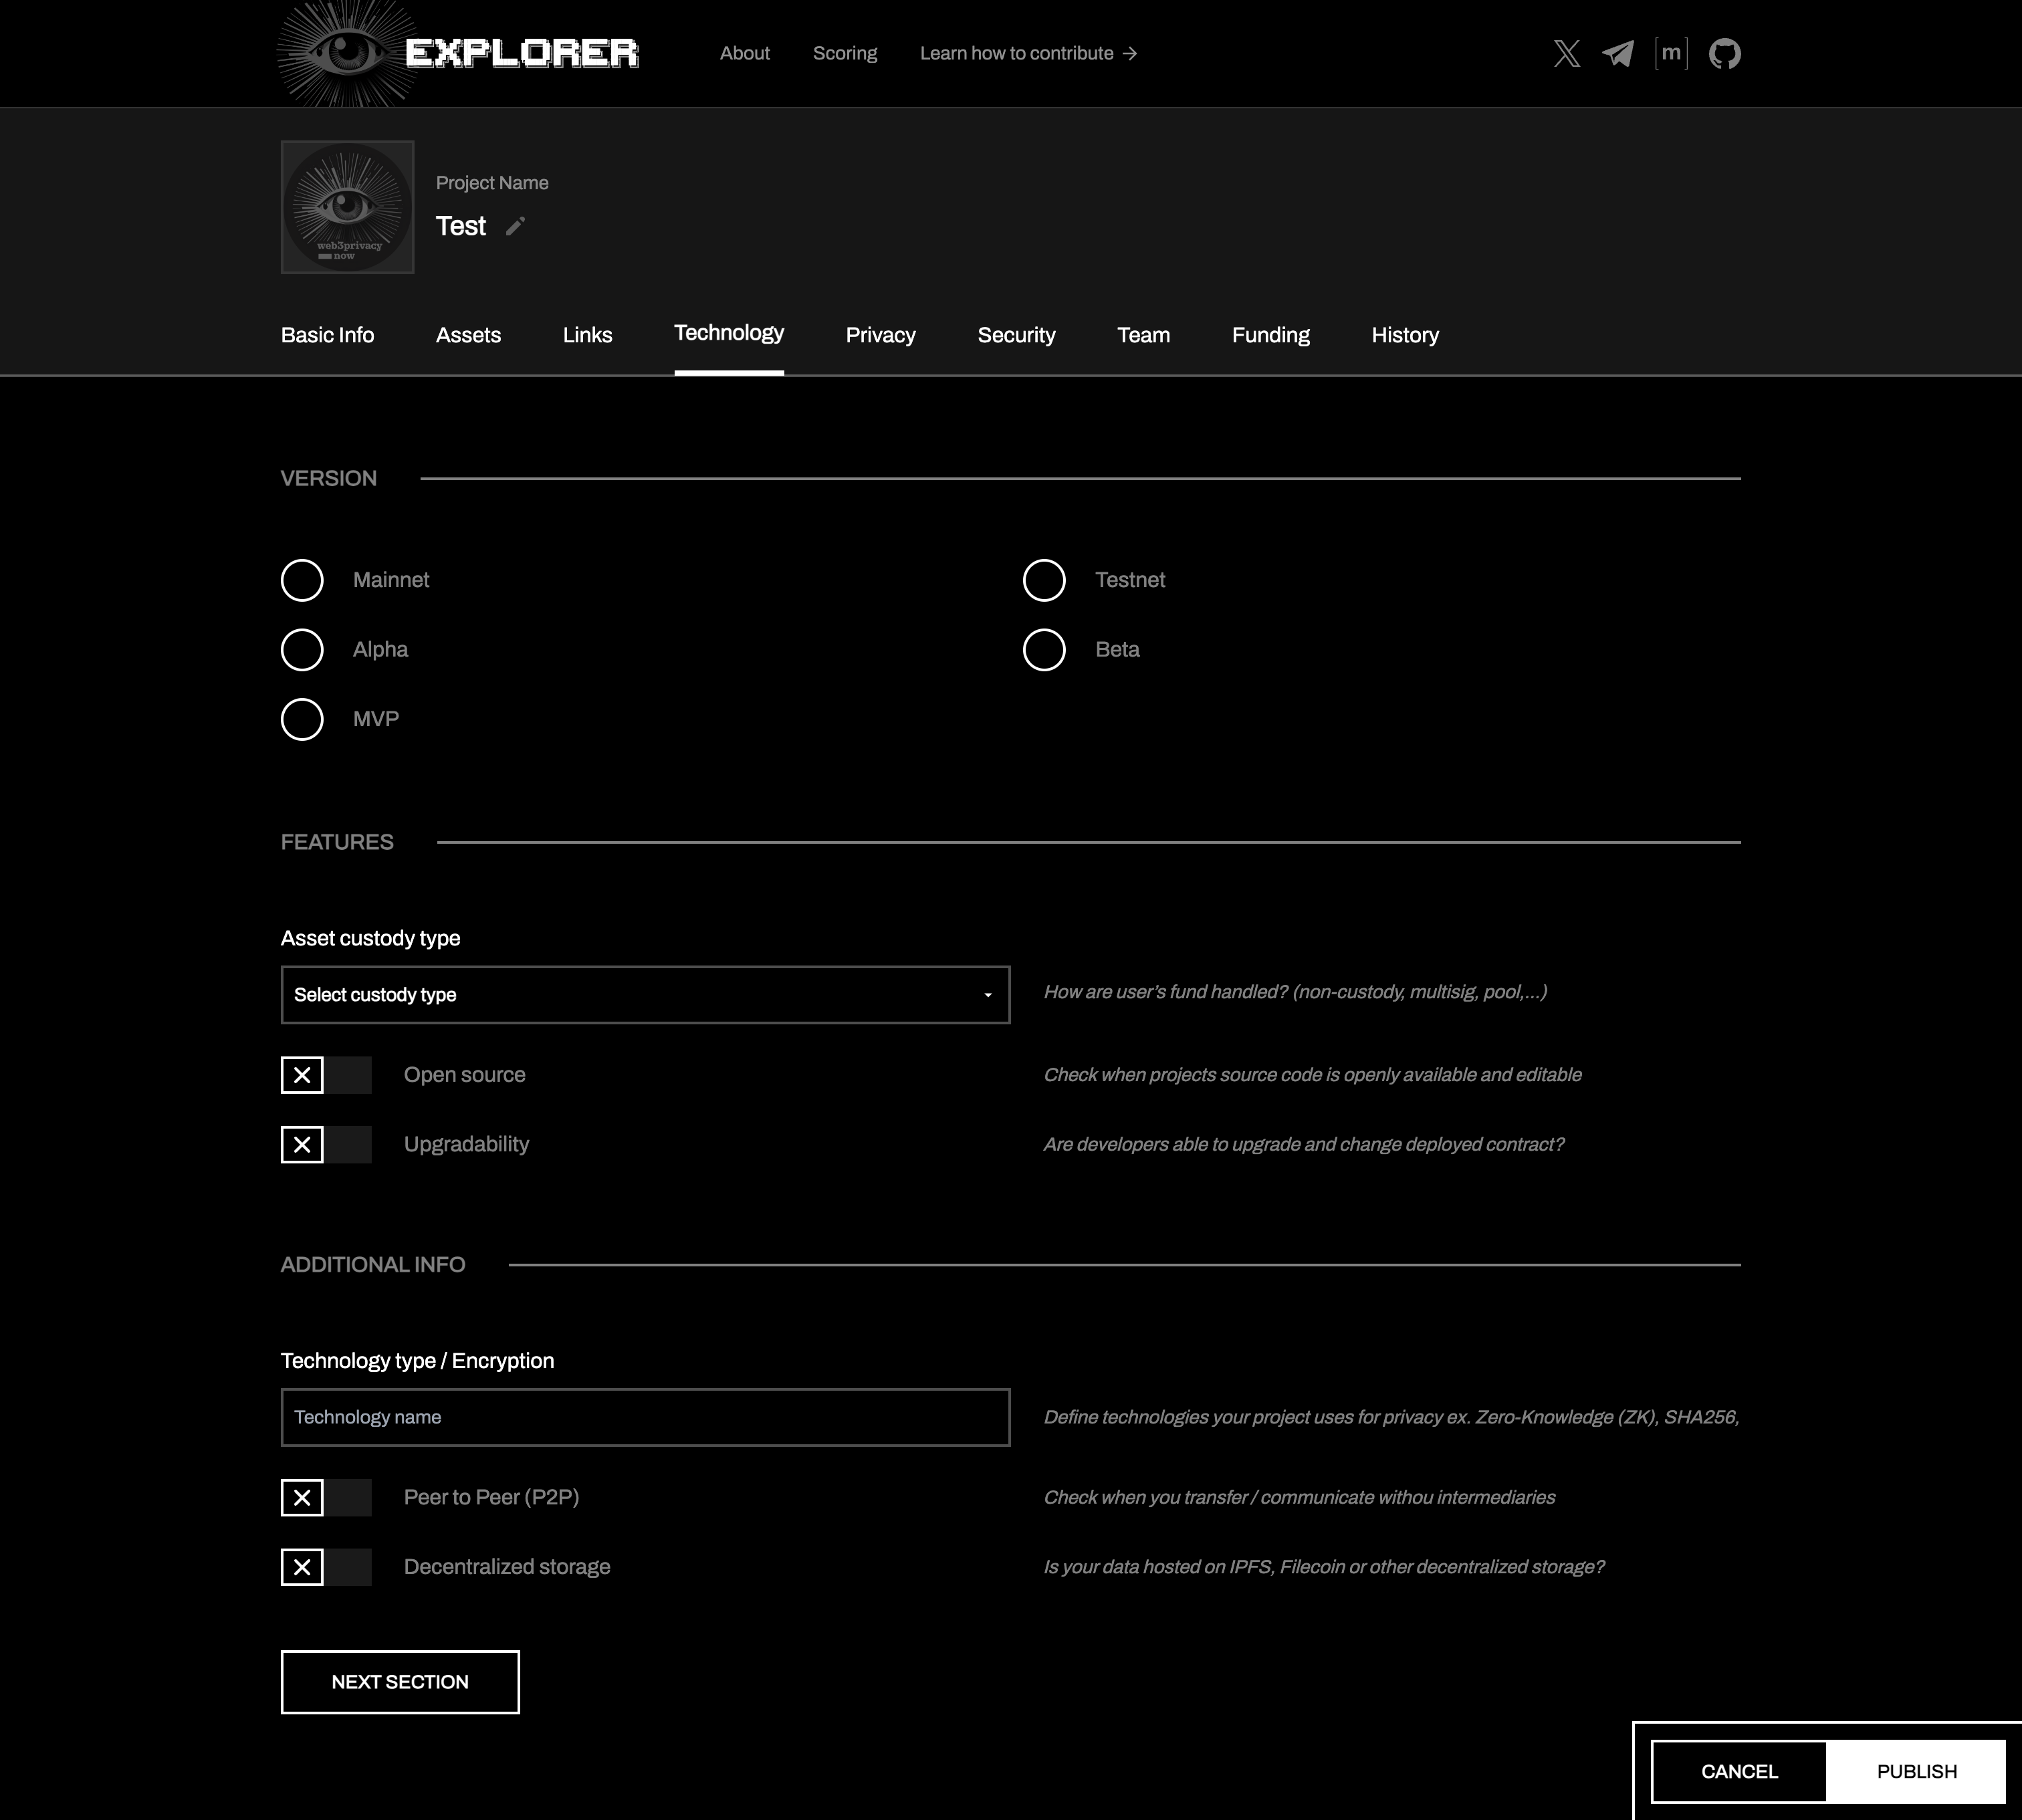
Technology
For the technology section, you’ll include the readiness and specifications for your project. The most important ones are including your version, alongside tapping the open-source button if open-source.
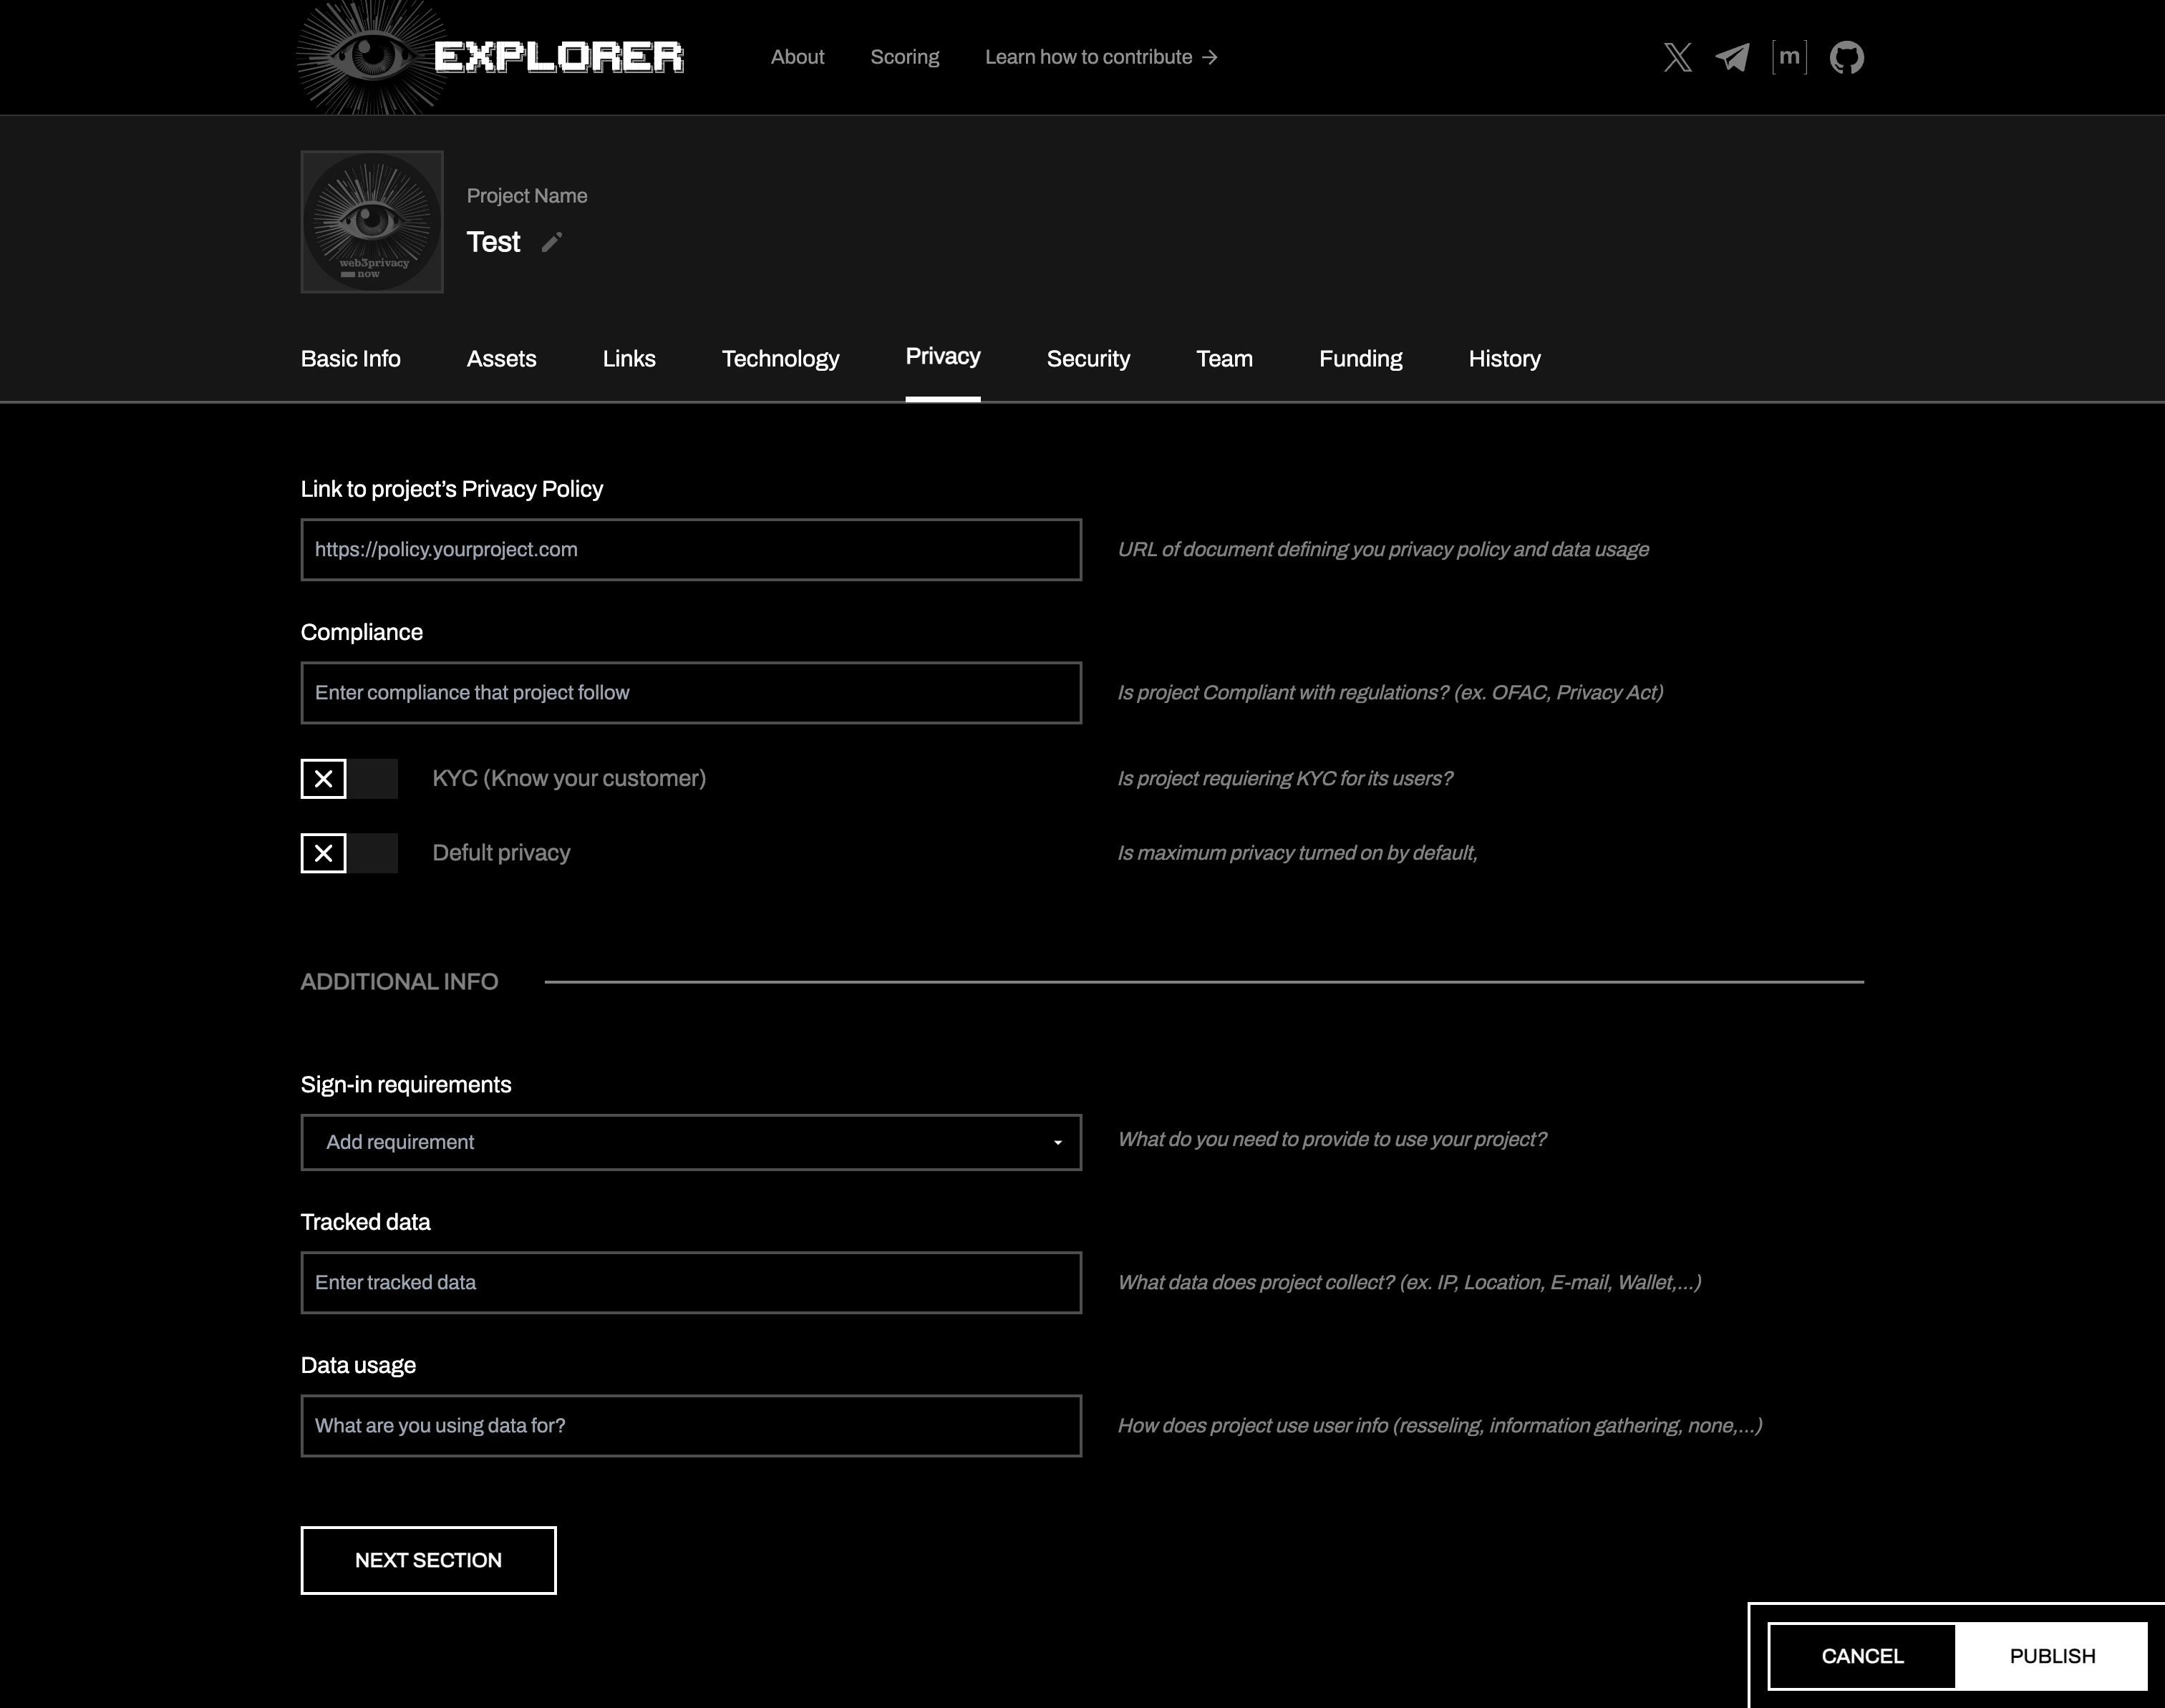
Privacy
As most of our viewers come from a privacy-centric background, this section will get a lot of eyes on your project. Include your privacy policy, if you use KYC or not, and accentuate if privacy is set up by default.
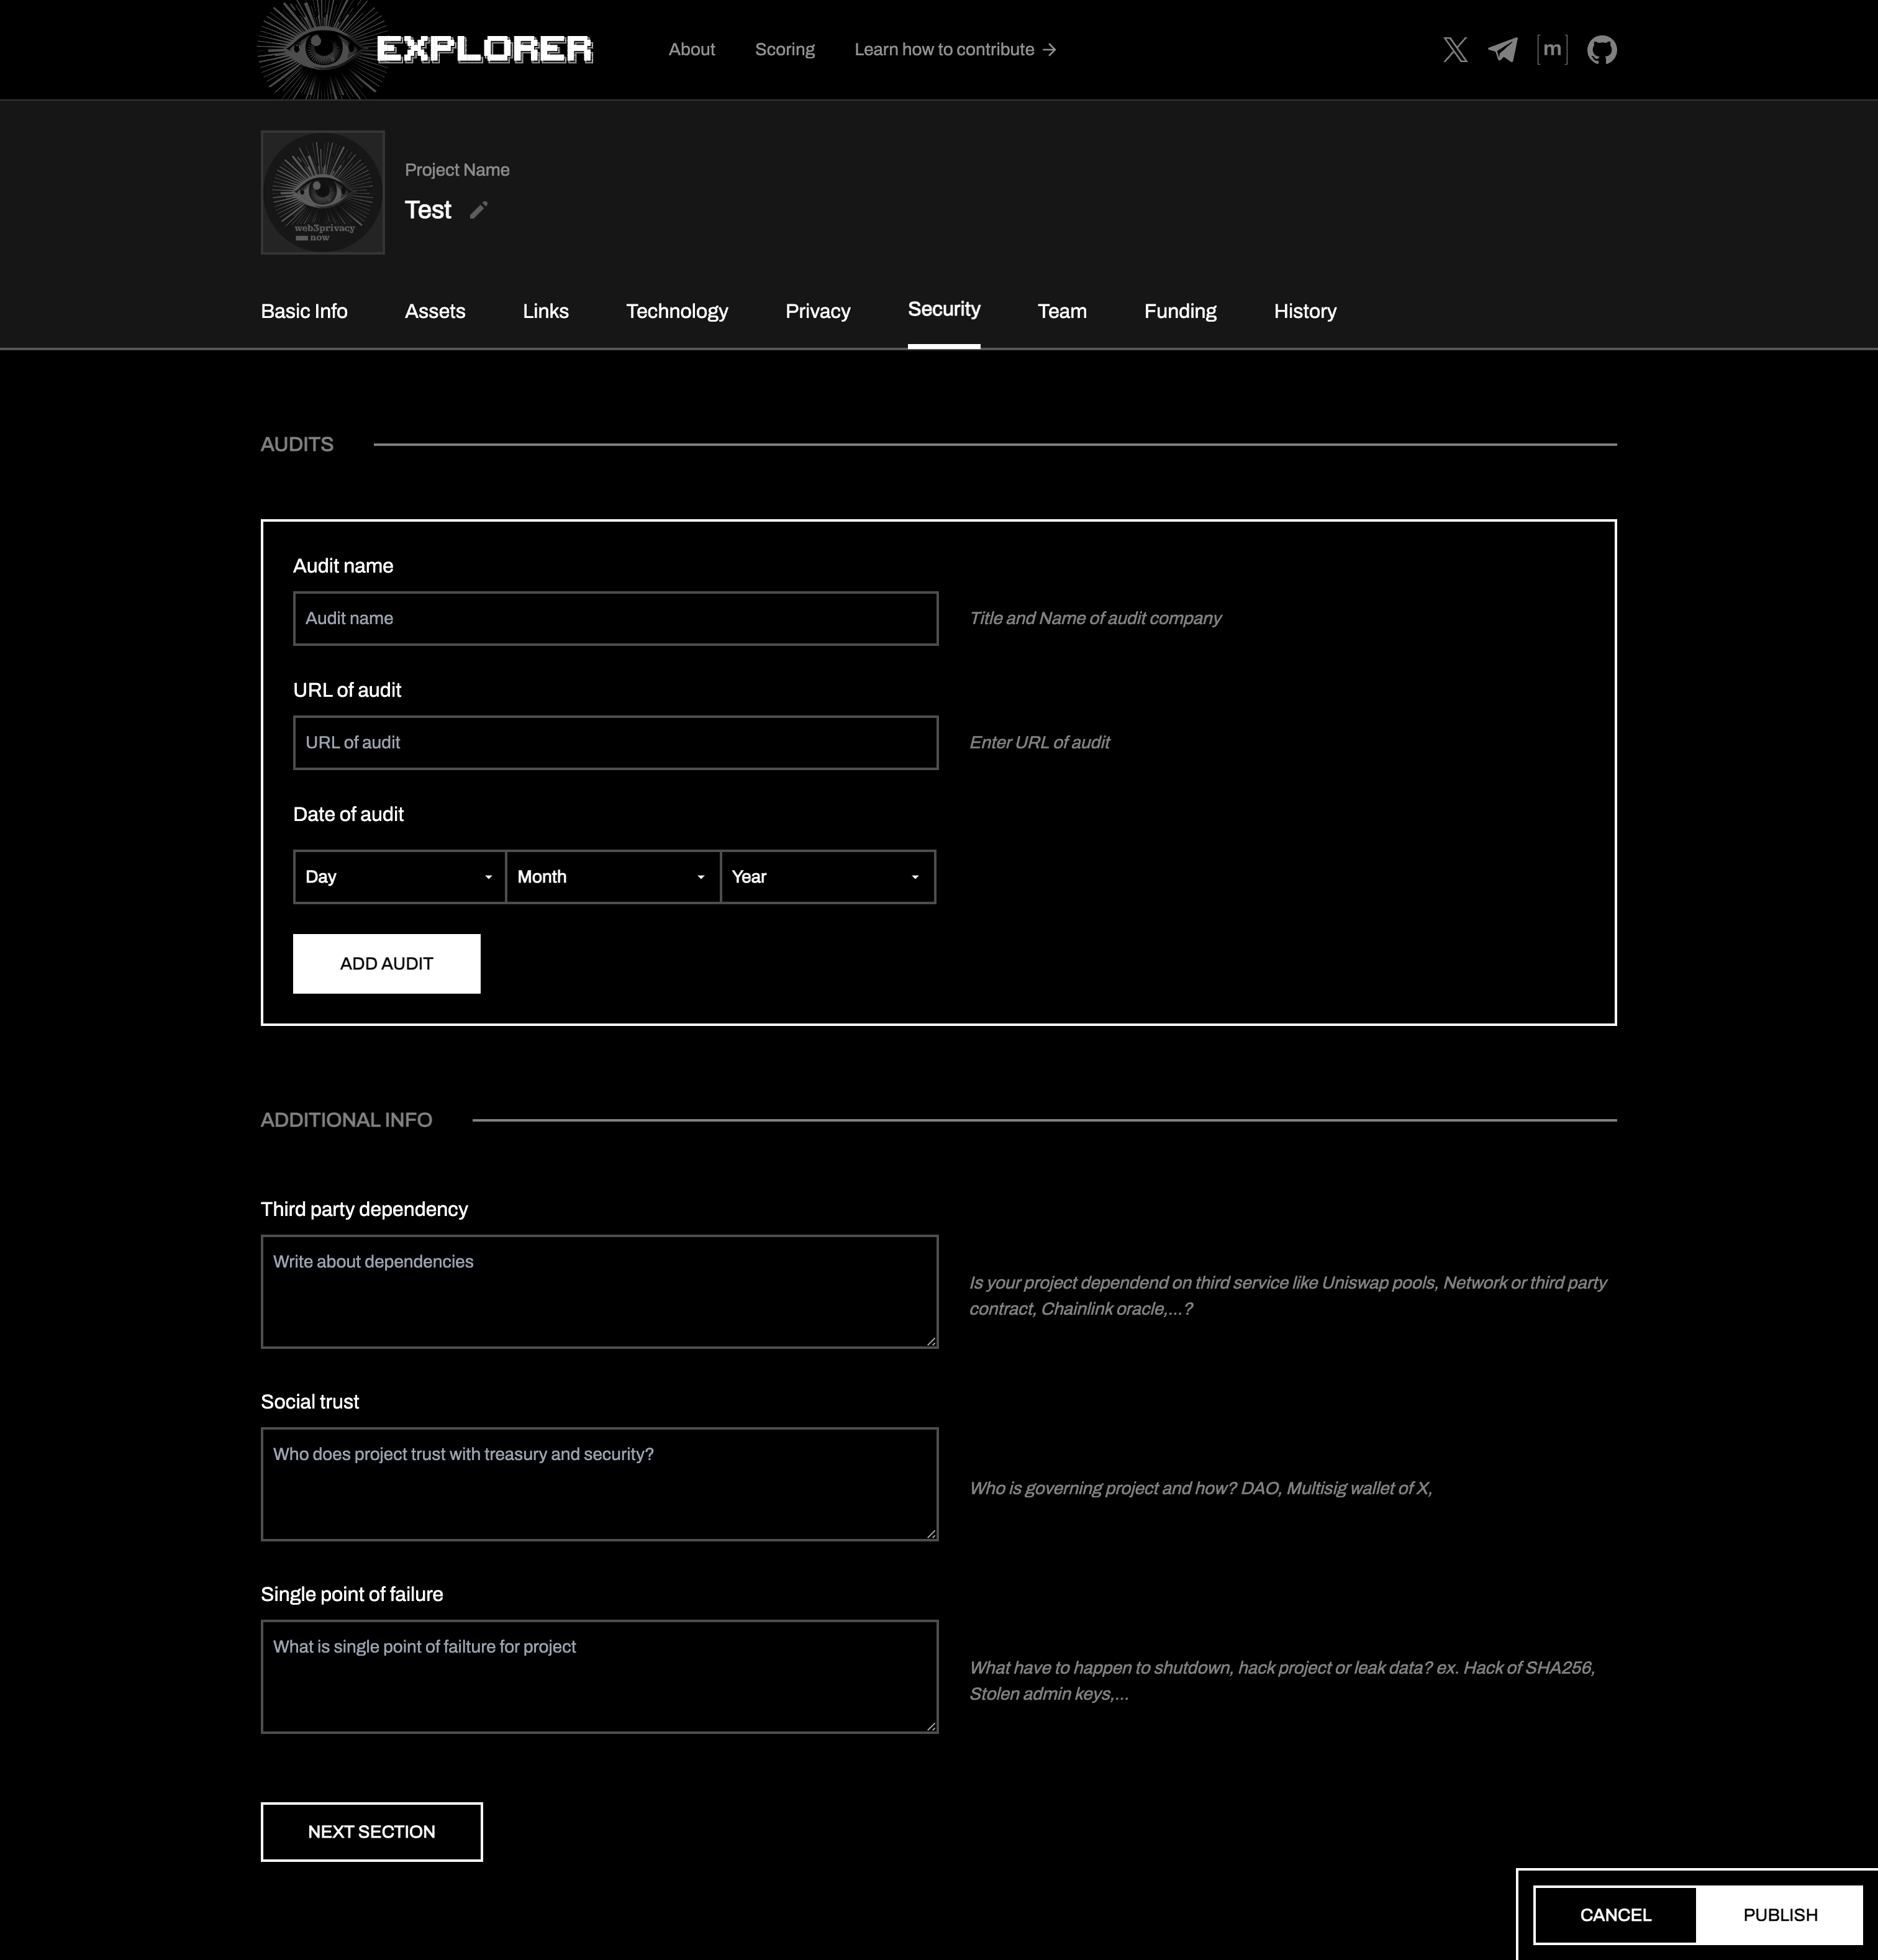
Security
How secure is your project? Is a question that many will ask when they interact with it. In this section you can fill in audit details, Third Party Dependencies, and include transparency about single point of failure spot(s).
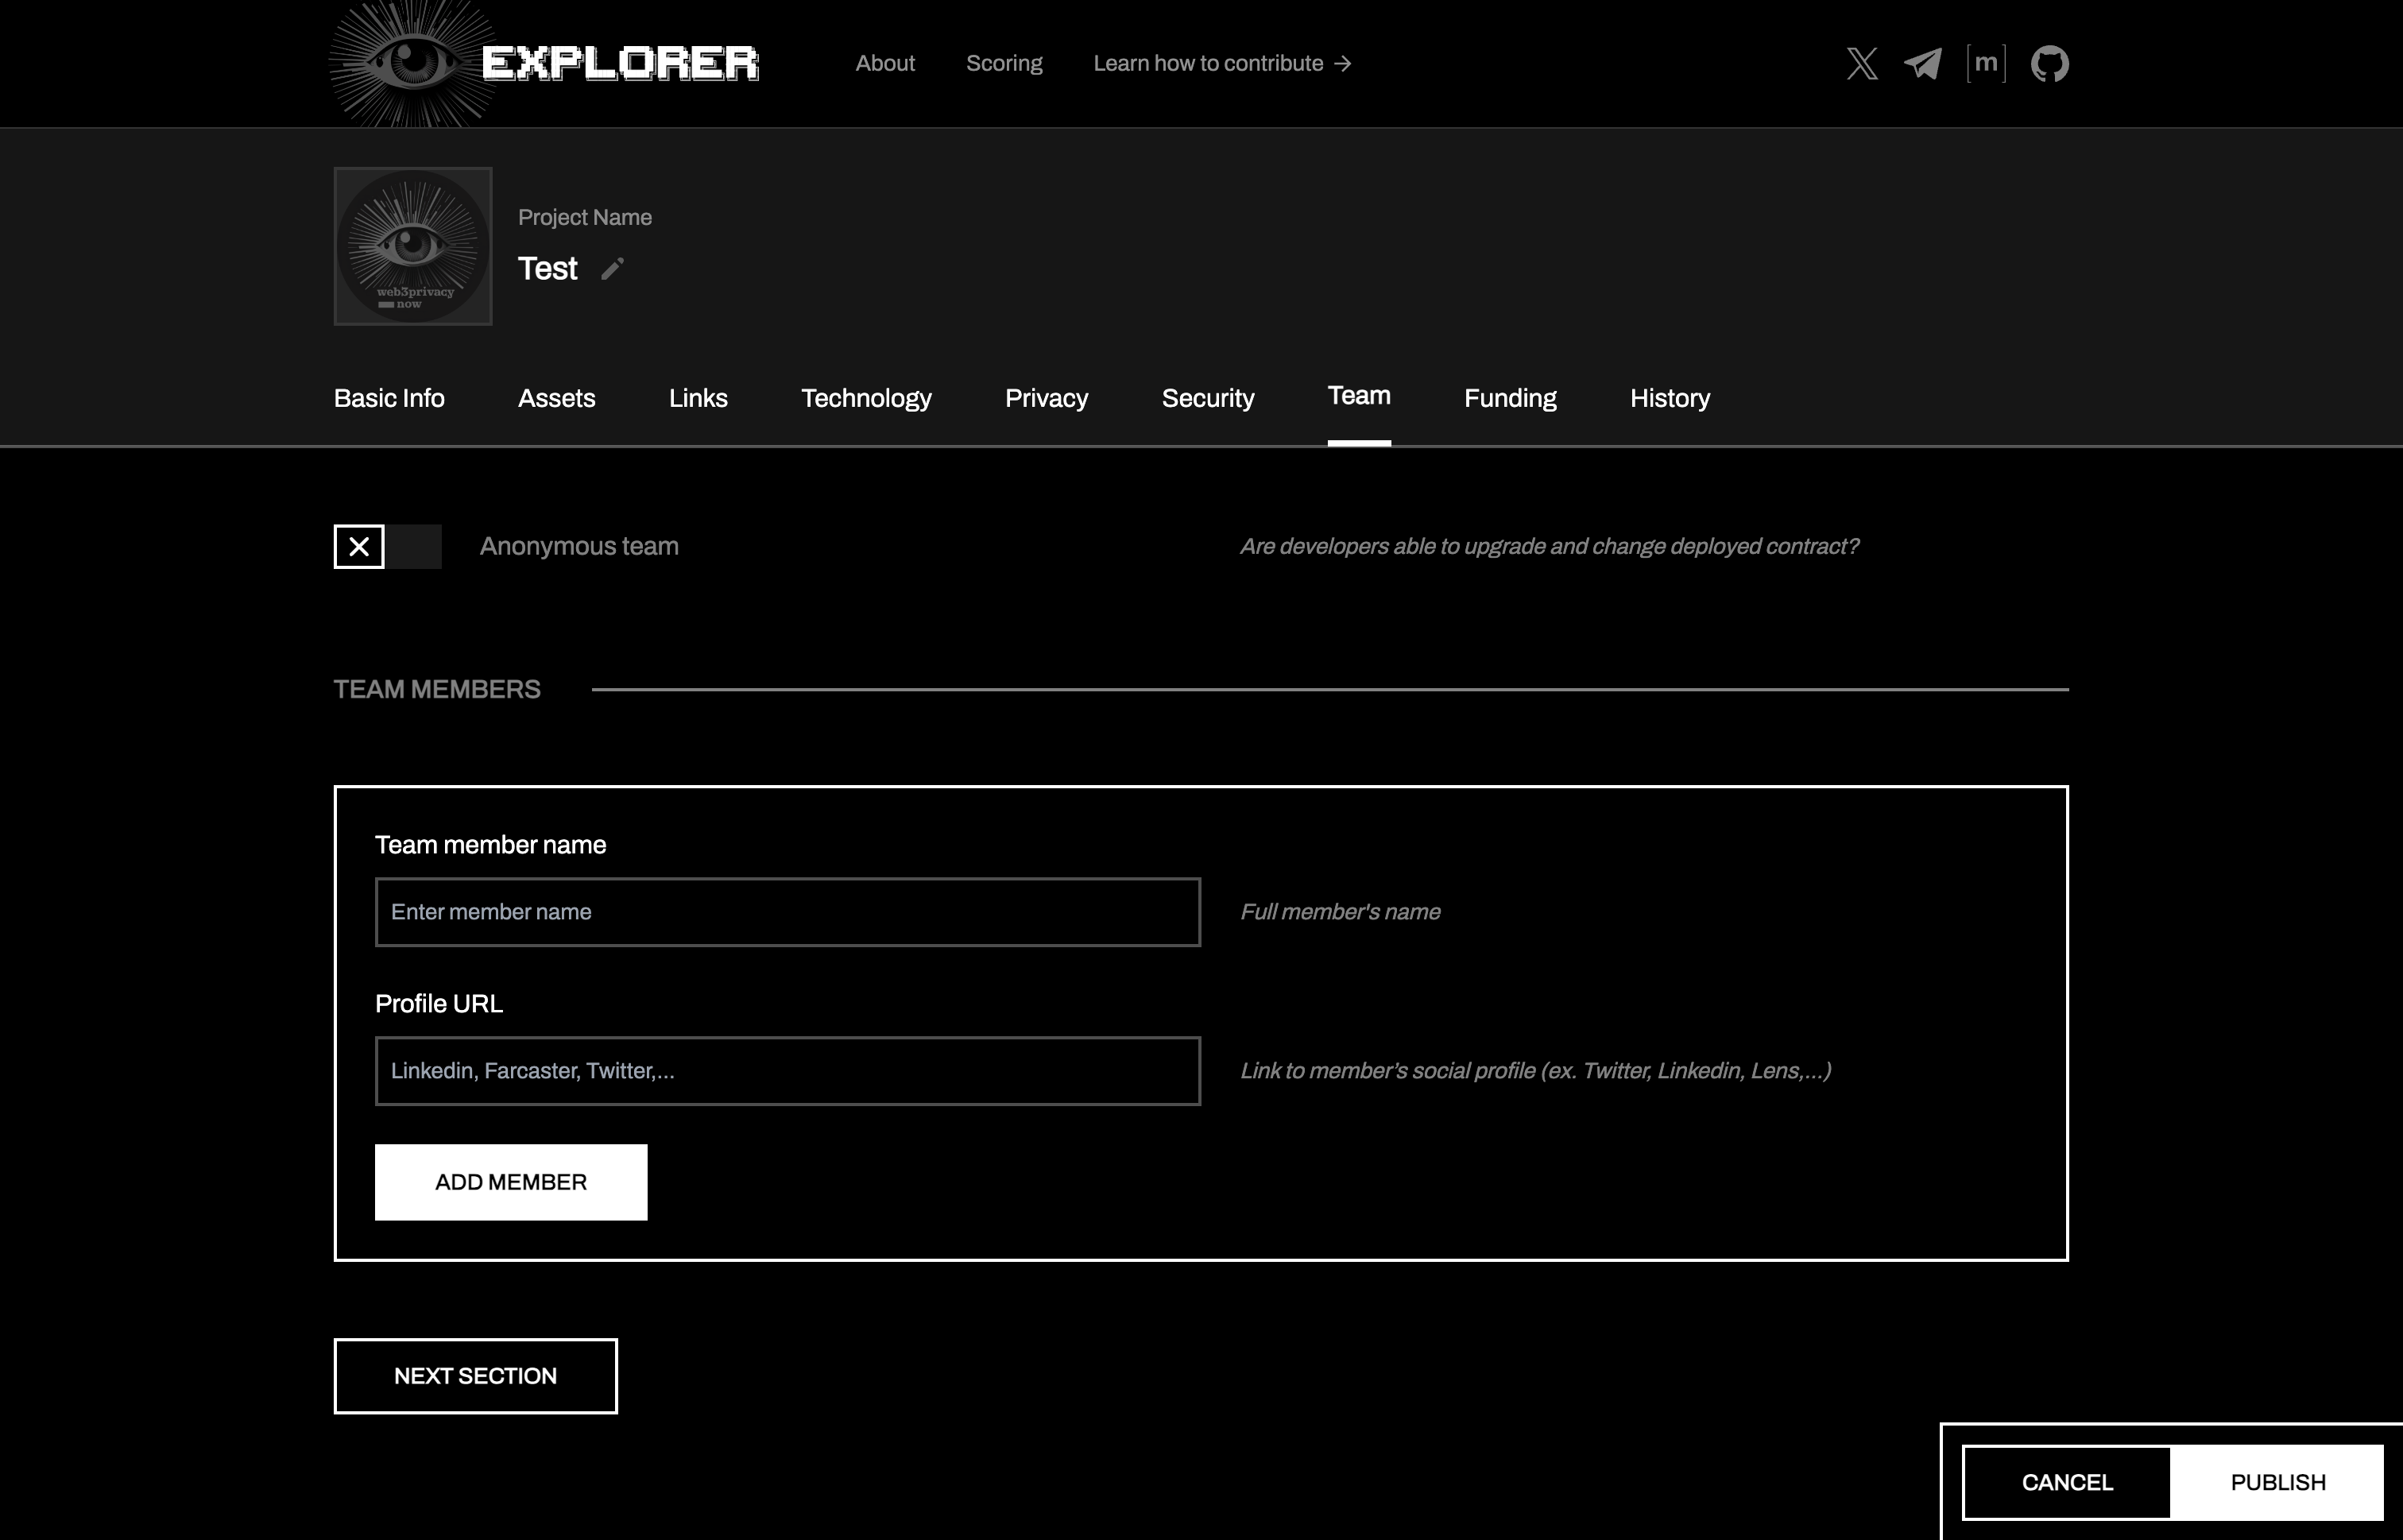
Team
We know that a project or protocol is nowhere without its time. Here it’s time to shine a light on who’s pushing the project forward. Feel free to add any up-to-date relevant personas, alongside a link to a preferred social url.
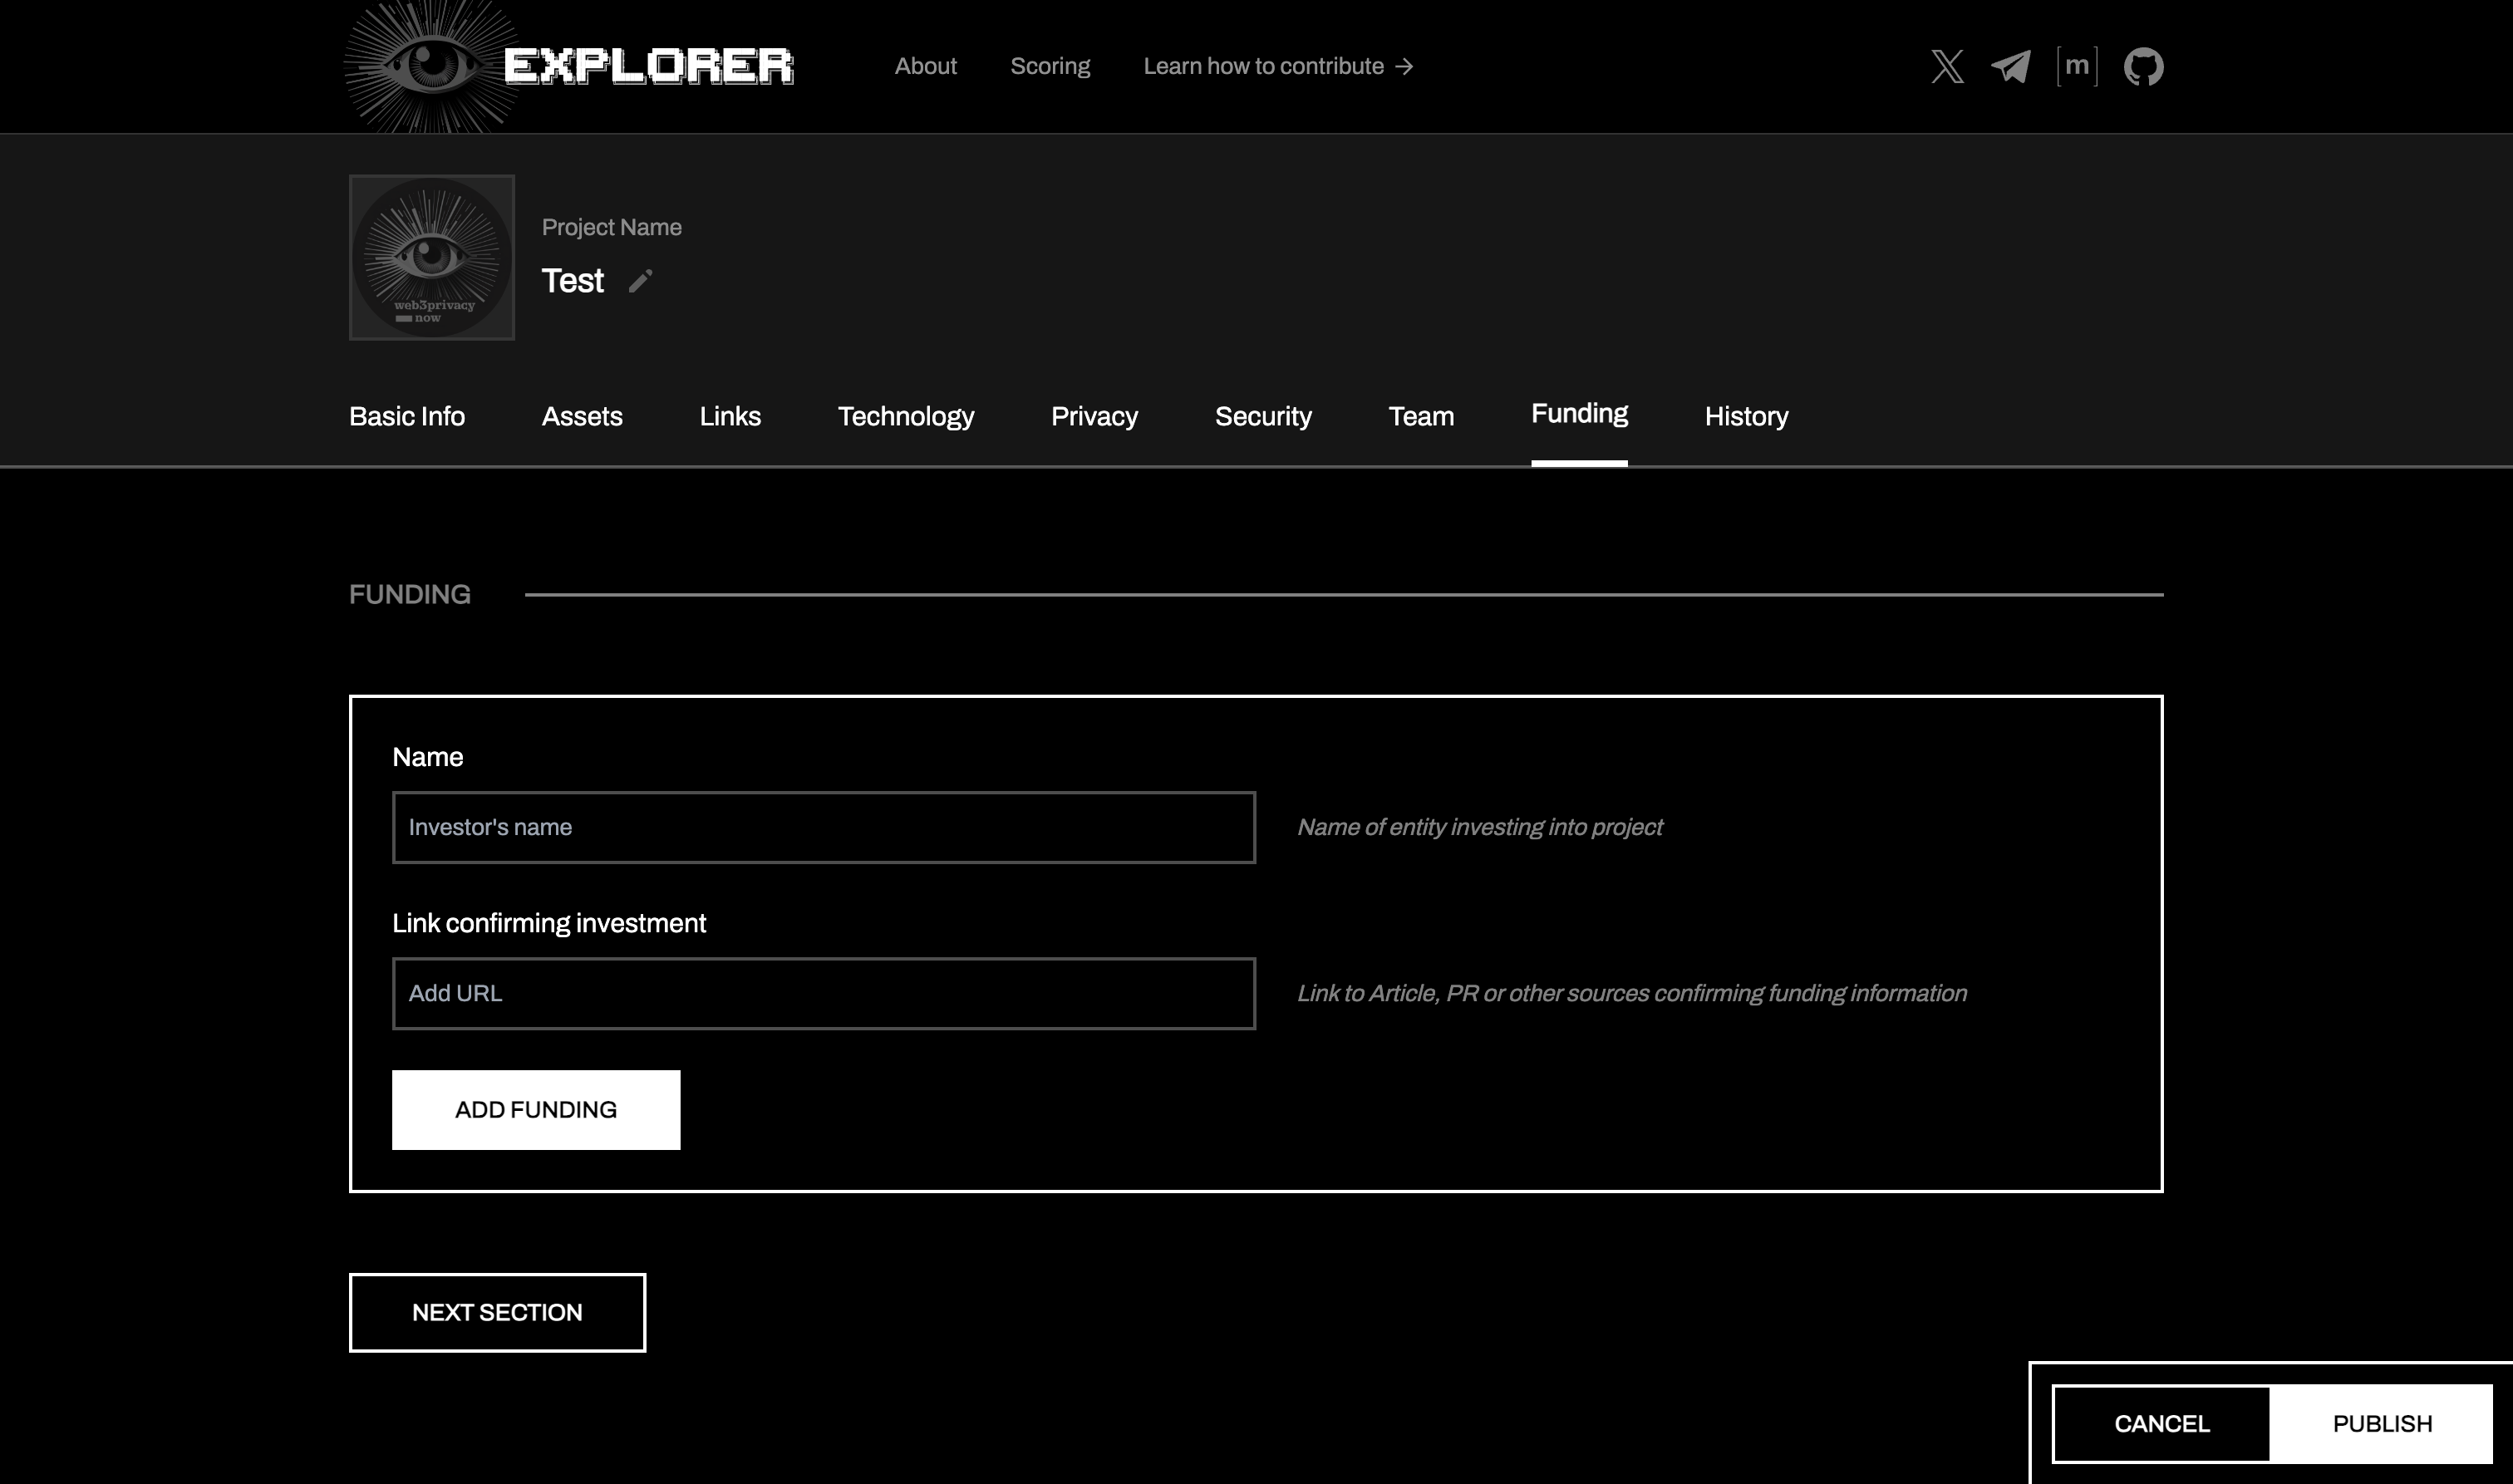
Funding
Follow the money, a saying many of us live by heart. Having a privacy-first project funded by some major advertisement agencies, or having a VPN being funded by a dictatorship government, will definitely raise the right questions. This space is to make that transparent.
Just as much as it is to showcase that your project is being backed by those who add another layer of reputation to your work.
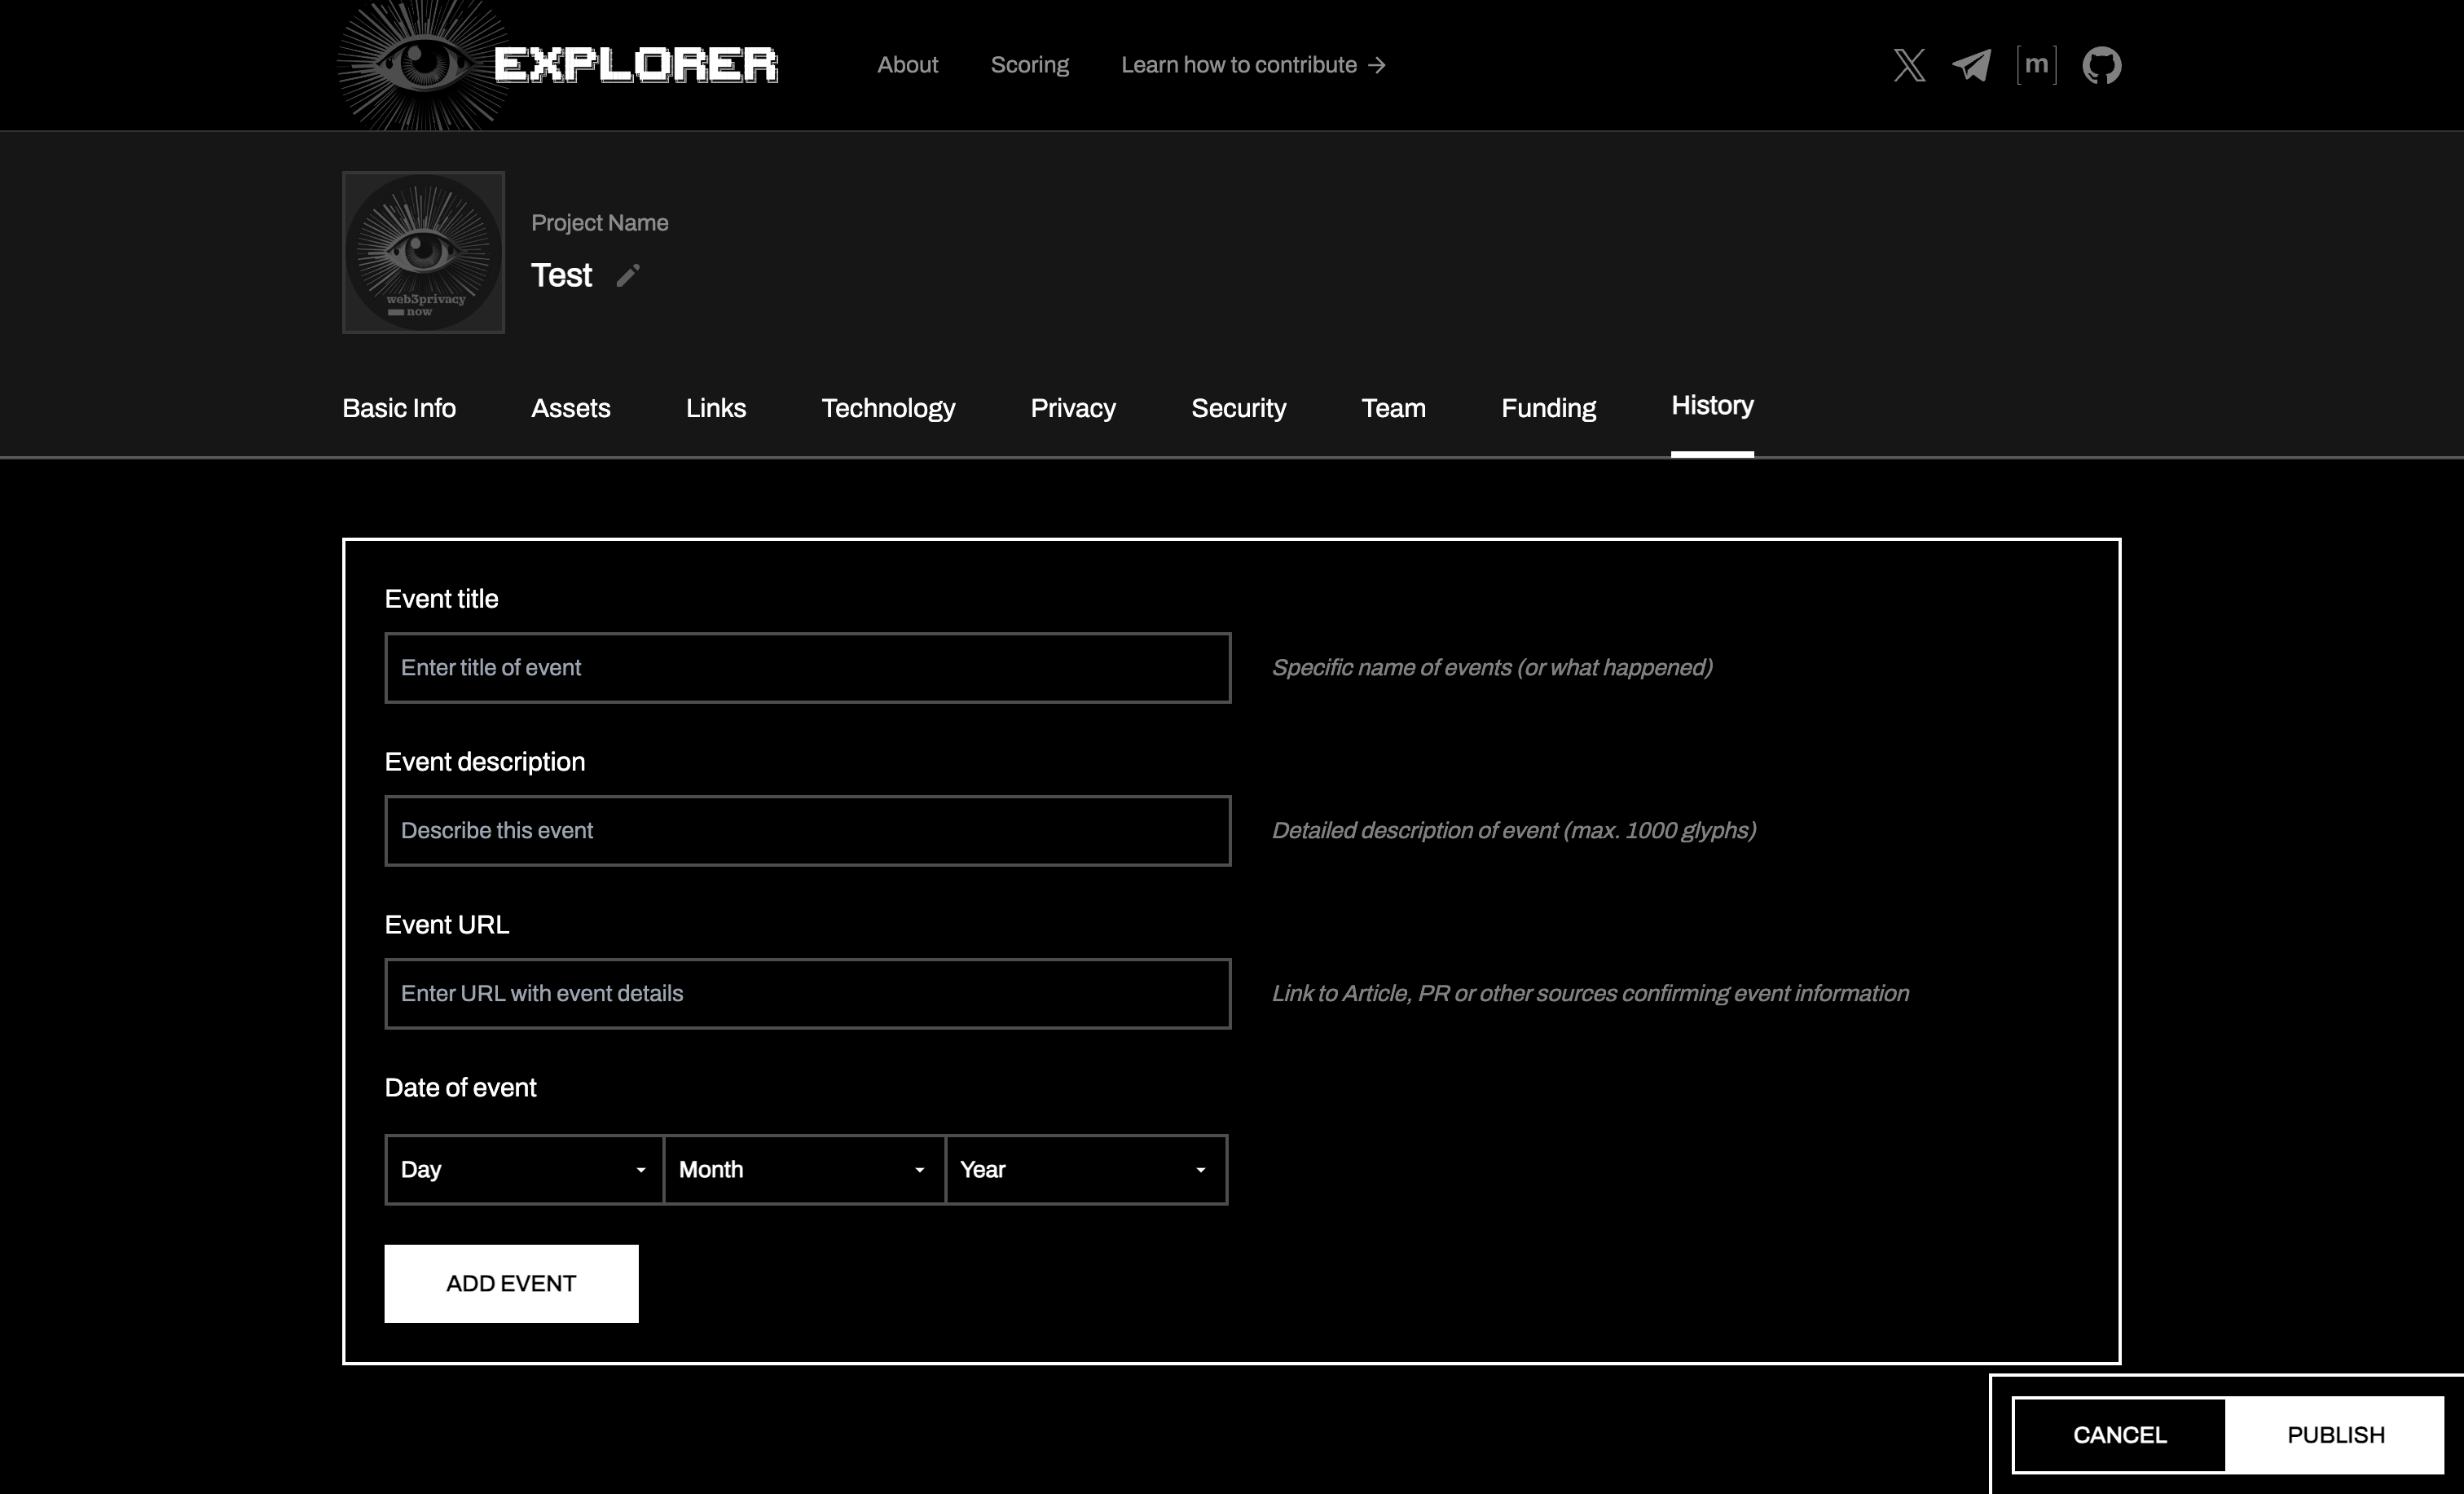
History
Last but not least is about the history of your project. Here you can mention any historical achievements, events, or actions you’re proud of. This can range from a test or mainnet launch, all the way to hosting your most recent meet-up.
Step 4: Publish
The final step on your end is to publish your project. Press the publish button, wait a few seconds, and you can verify on our GitHub here your request.

We are currently manually adding the projects to the database on GitHub, mainly to ensure that the website doesn’t get spammed, and also to have an extra step of quality control on the submissions.
That’s it! If you would have any improvement recommendations, feel free to jump in our telegram group to say hi, or join our weekly meeting on Fridays 14:00 CEST here.

评论 (0)