
Unlocking Seamless Communication: A Step-by-Step Guide to Deploying a Hyperlane Node
Imagine a world where different blockchain networks can effortlessly exchange information, empowering the secure transfer of data, messages, and assets. Welcome to the world of Hyperlane, a groundbreaking protocol designed to bridge the gaps between various blockchain ecosystems.
In this comprehensive tutorial, we'll walk you through the process of setting up a Hyperlane node, allowing you to join the ranks of innovators shaping the future of blockchain interoperability.
What is Hyperlane?
Hyperlane is a pioneering protocol that enables the secure exchange of information between different blockchain networks. Its open architecture allows anyone to deploy the protocol on any blockchain, making it a game-changer for the industry.
The Role of Hyperlane Validators
At the heart of the Hyperlane system are validators, which play a vital role in ensuring the security and integrity of exchanged information. These specialized agents verify and authenticate messages, guaranteeing their authenticity and accuracy.
Getting Started
To set up a Hyperlane node, you'll need to choose between hosting it on your own computer or setting it up on a Virtual Private Server (VPS). We recommend using a VPS provider like Contabo, which offers reliable and high-performance services.
Step 1: VPS Configuration
To begin, you'll need to configure your VPS. We recommend opting for the Cloud VPS 2 plan, which provides the necessary resources to run a Hyperlane node. If you plan to run additional nodes, consider upgrading to the next tier.
Terminal Time!
sudo apt-get update && sudo apt-get upgrade -y
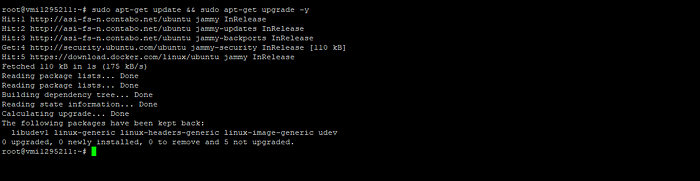
Step 2: Installation of Essential Components
Before diving into setting up your node, it's essential to install the necessary components.
Install Docker:
sudo apt-get install docker.io -y
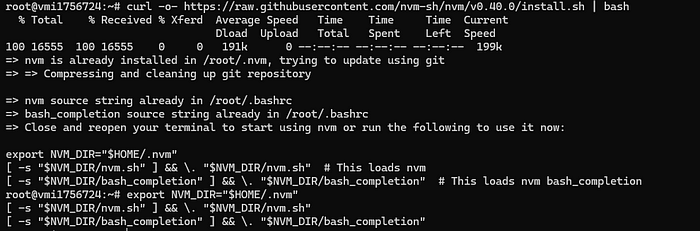
Install Node Version Manager (NVM) and Node.js:
curl -o- https://raw.githubusercontent.com/nvm-sh/nvm/v0.40.0/install.sh | bash
export NVM_DIR="$HOME/.nvm"
[ -s "$NVM_DIR/nvm.sh" ] && \. "$NVM_DIR/nvm.sh"
[ -s "$NVM_DIR/bash_completion" ] && \. "$NVM_DIR/bash_completion"
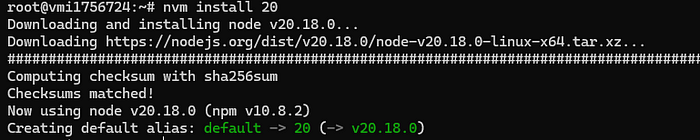
nvm install 20
Step 3: Create a Digital Wallet
In this step, you'll create a digital wallet dedicated to your Hyperlane node. If you already have a wallet, feel free to skip to Step 4.
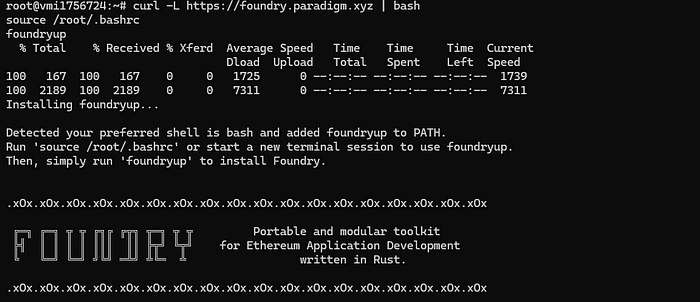
Generate an EVM Wallet:
curl -L https://foundry.paradigm.xyz | bash
foundryup
Create Your EVM Wallet :
cast wallet new

Foundry will generate an EVM address and a private key.
Make sure to save these credentials in a secure location!
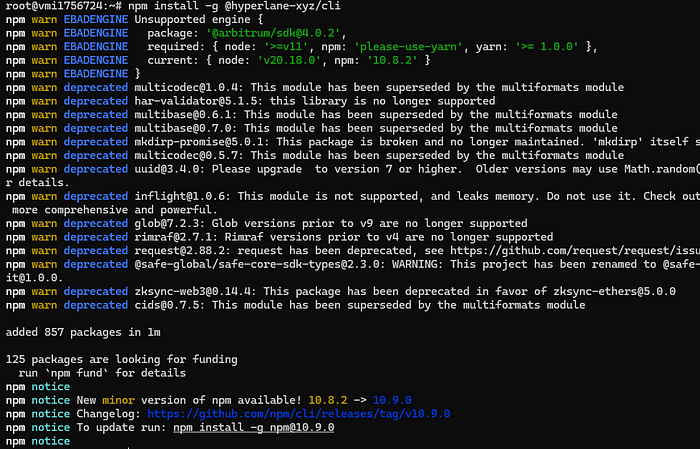
Step 4: Installing the Hyperlane Client
Install the Hyperlane client, which allows you to execute Hyperlane-related commands and interact with blockchain networks directly from your terminal:
npm install -g @hyperlane-xyz/cli
Step 5: Launching the Hyperlane Node
Install the Hyperlane project from its GitHub repository:
docker pull --platform linux/amd64 gcr.io/abacus-labs-dev/hyperlane-agent:agents-v1.0.0

Create the directory to store the node's database and launch your Hyperlane node:
mkdir -p /root/hyperlane_db_<CHAIN> && chmod -R 777 /root/hyperlane_db_<CHAIN>

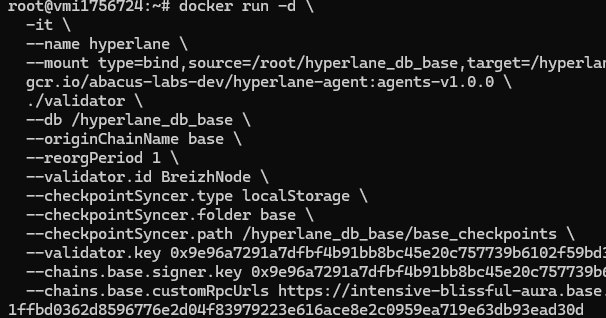
To launch your Hyperlane node, customize the following command with your own information. Here are the parameters you need to modify:
-
: Specify the blockchain on which you want to run your Hyperlane node. In my case, I chose Base. -
: Provide a unique name for your validator. -
: Enter the private key of the wallet you generated in step 3. -
: Provide the RPC URL for the blockchain you selected. You can generate one on QuickNode.
docker run -d \
 -it \
 --name hyperlane \
 --mount type=bind,source=/root/hyperlane_db_<CHAIN>,target=/hyperlane_db_<CHAIN> \
 gcr.io/abacus-labs-dev/hyperlane-agent:agents-v1.0.0 \
 ./validator \
 --db /hyperlane_db_<CHAIN> \
 --originChainName <CHAIN> \
 --reorgPeriod 1 \
 --validator.id <NAME> \
 --checkpointSyncer.type localStorage \
 --checkpointSyncer.folder <CHAIN> \
 --checkpointSyncer.path /hyperlane_db_<CHAIN>/<CHAIN>_checkpoints \
 --validator.key <PRIVATE_KEY> \
 --chains.<CHAIN>.signer.key <PRIVATE_KEY> \
 --chains.<CHAIN>.customRpcUrls <RPC_CHAIN>
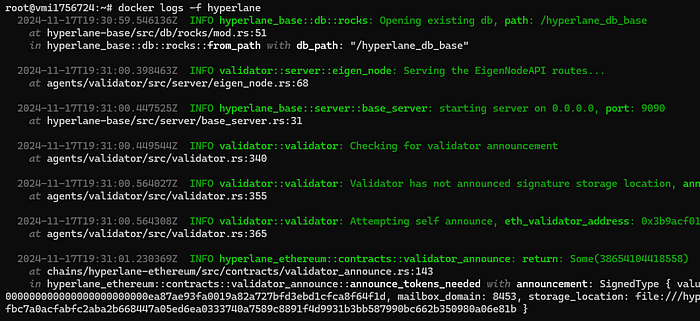
Step 6: Verification
Check if your node is functioning properly:
docker logs -f hyperlane
Ensure your validator is recognized on the blockchain associated with your node by sending enough ETH to cover gas fees:
Use a bridge like Jumper to send funds to the wallet used by your validator.

Ensure your wallet has sufficient ETH to pay for gas fees to announce your validator on the blockchain.
After sending the gas fees:
1- Review your node’s logs to confirm the validator has been successfully registered.
2- Visit the corresponding blockchain explorer to verify that your validator is active.
If you deployed your node on the Base blockchain, you can check its status directly on the Base explorer.In my case, I confirmed my validator was successfully announced on Base with the ‘Announce’ status.

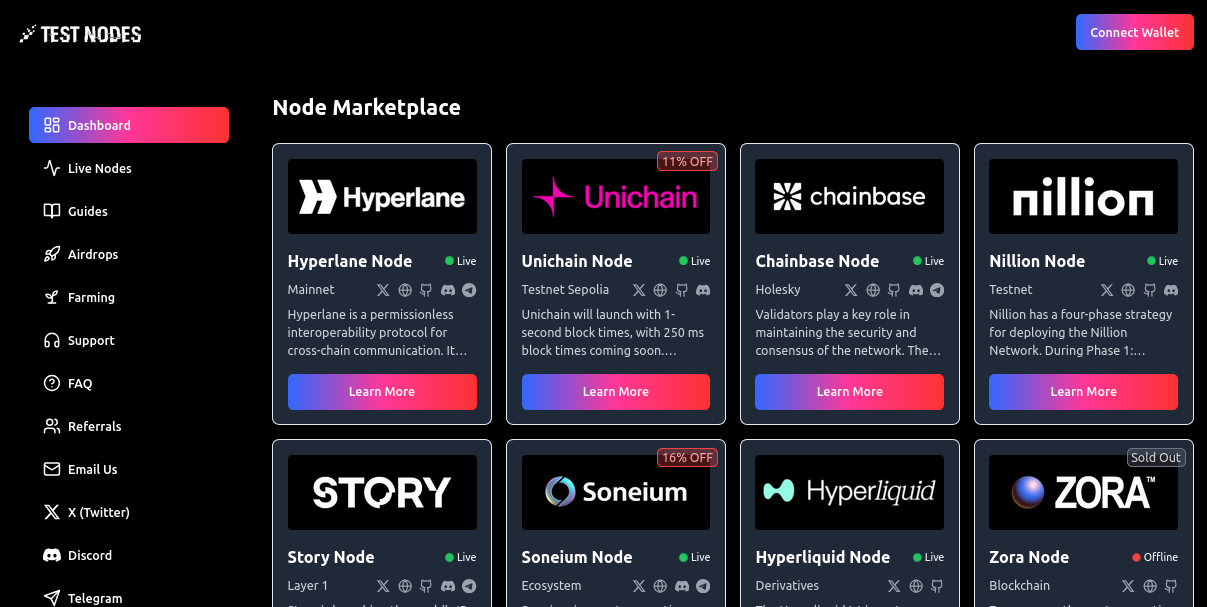
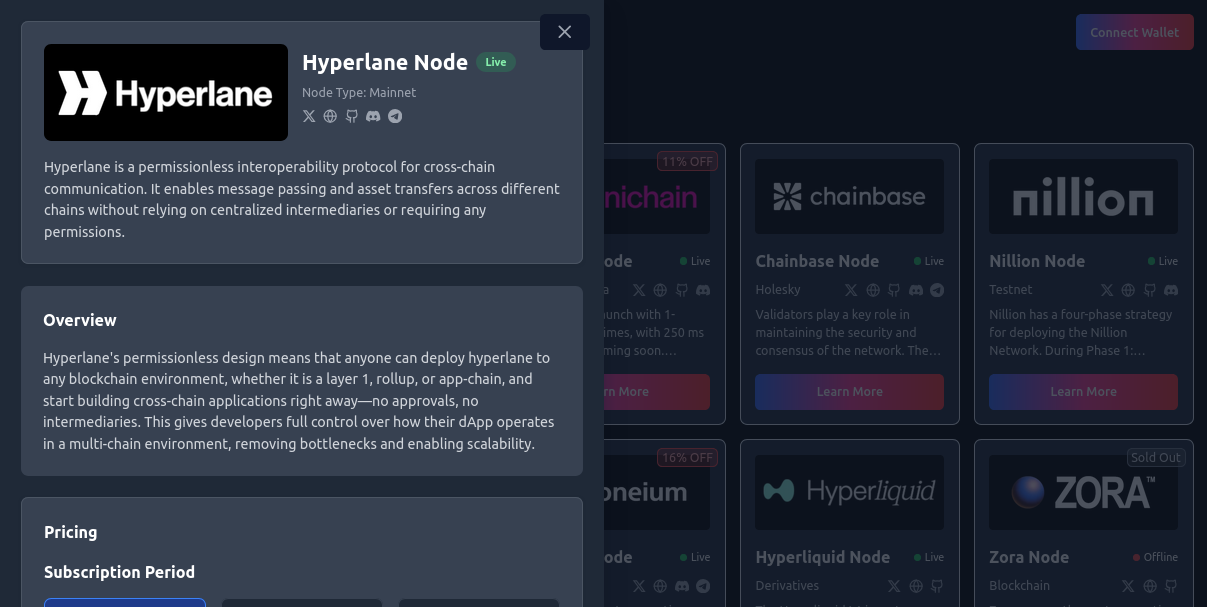
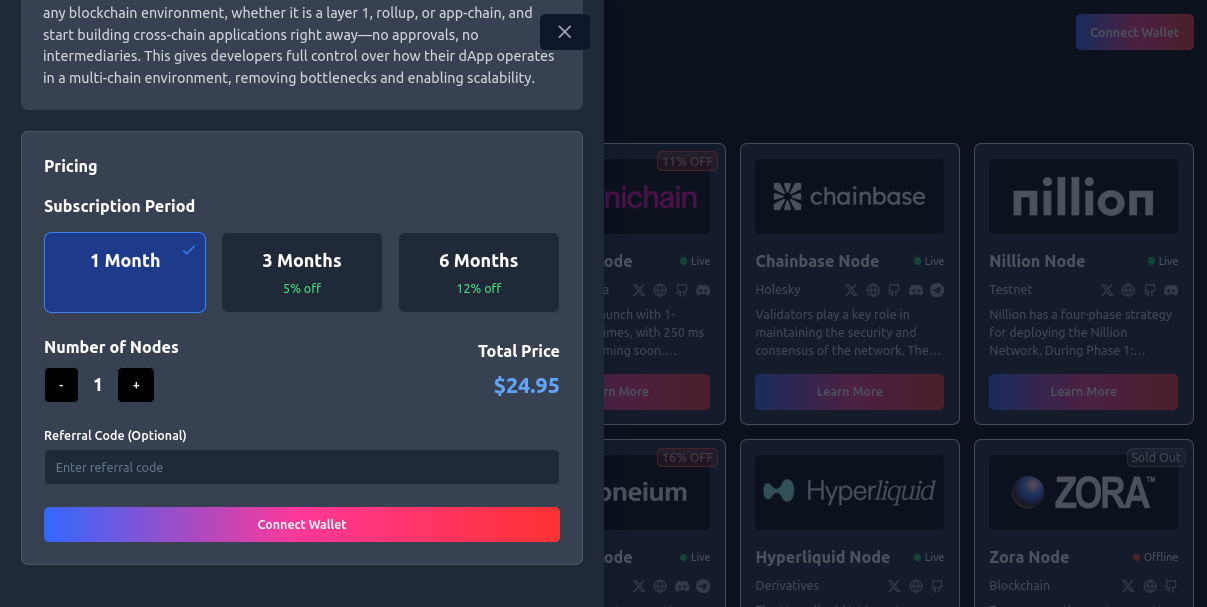
Step 7: Test Nodes
If you want to deploy your node with just one click, you can use Test Nodes. Test Nodes provides a streamlined way to deploy and manage your nodes, allowing you to focus on developing your applications.
Visit Test Nodes to get started!
That's it! With these steps, you've successfully deployed a Hyperlane node and joined the ranks of innovators shaping the future of blockchain interoperability.
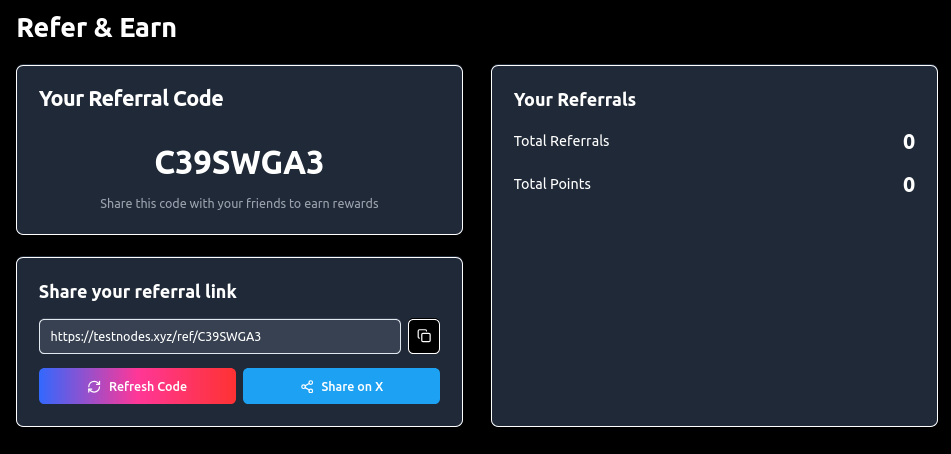
Do not forget to use your referral code with your friends to earn rewards:
Stay Connected
If you have any additional questions or would like to discuss further, feel free to find us on Discord or X platform.
🌐 Official Links
🔗 Twitter: https://x.com/testnodesxyz
🔗 Website: https://testnodes.xyz/
🛍️ Shop: https://testnodes.shop/
💬 Discord:https://discord.gg/jwANj5UqjV
📺 Coming soon: YouTube, Instagram, Telegram, Facebook!


评论 (0)