
Tutorial: Running a Glacier Node on RapidNode 🚀
Glacier is a data-centric blockchain network designed to empower verifiable computing with innovative technologies like GlacierDB, GlacierAI, and GlacierDA. By running a Glacier Node, you contribute to decentralization, secure operations, and groundbreaking advancements in blockchain while earning rewards and exclusive perks.
This step-by-step guide will help you set up your Glacier Node on RapidNode with ease.
Step 1: Log In to RapidNode & Add Credits 💰
-
Sign up or log in to your RapidNode account.
-
Add credits to your account to cover the cost of deploying your Glacier Node.
How to Add Credits:
-
Go to the "Credits" section in the dashboard.
-
Enter the desired amount and follow the payment instructions.
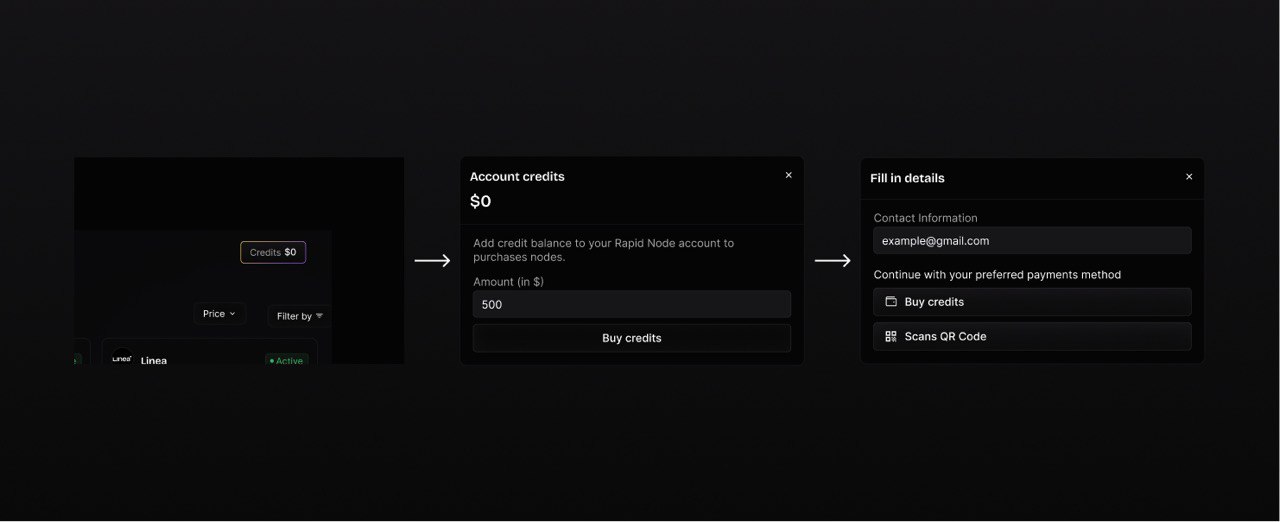
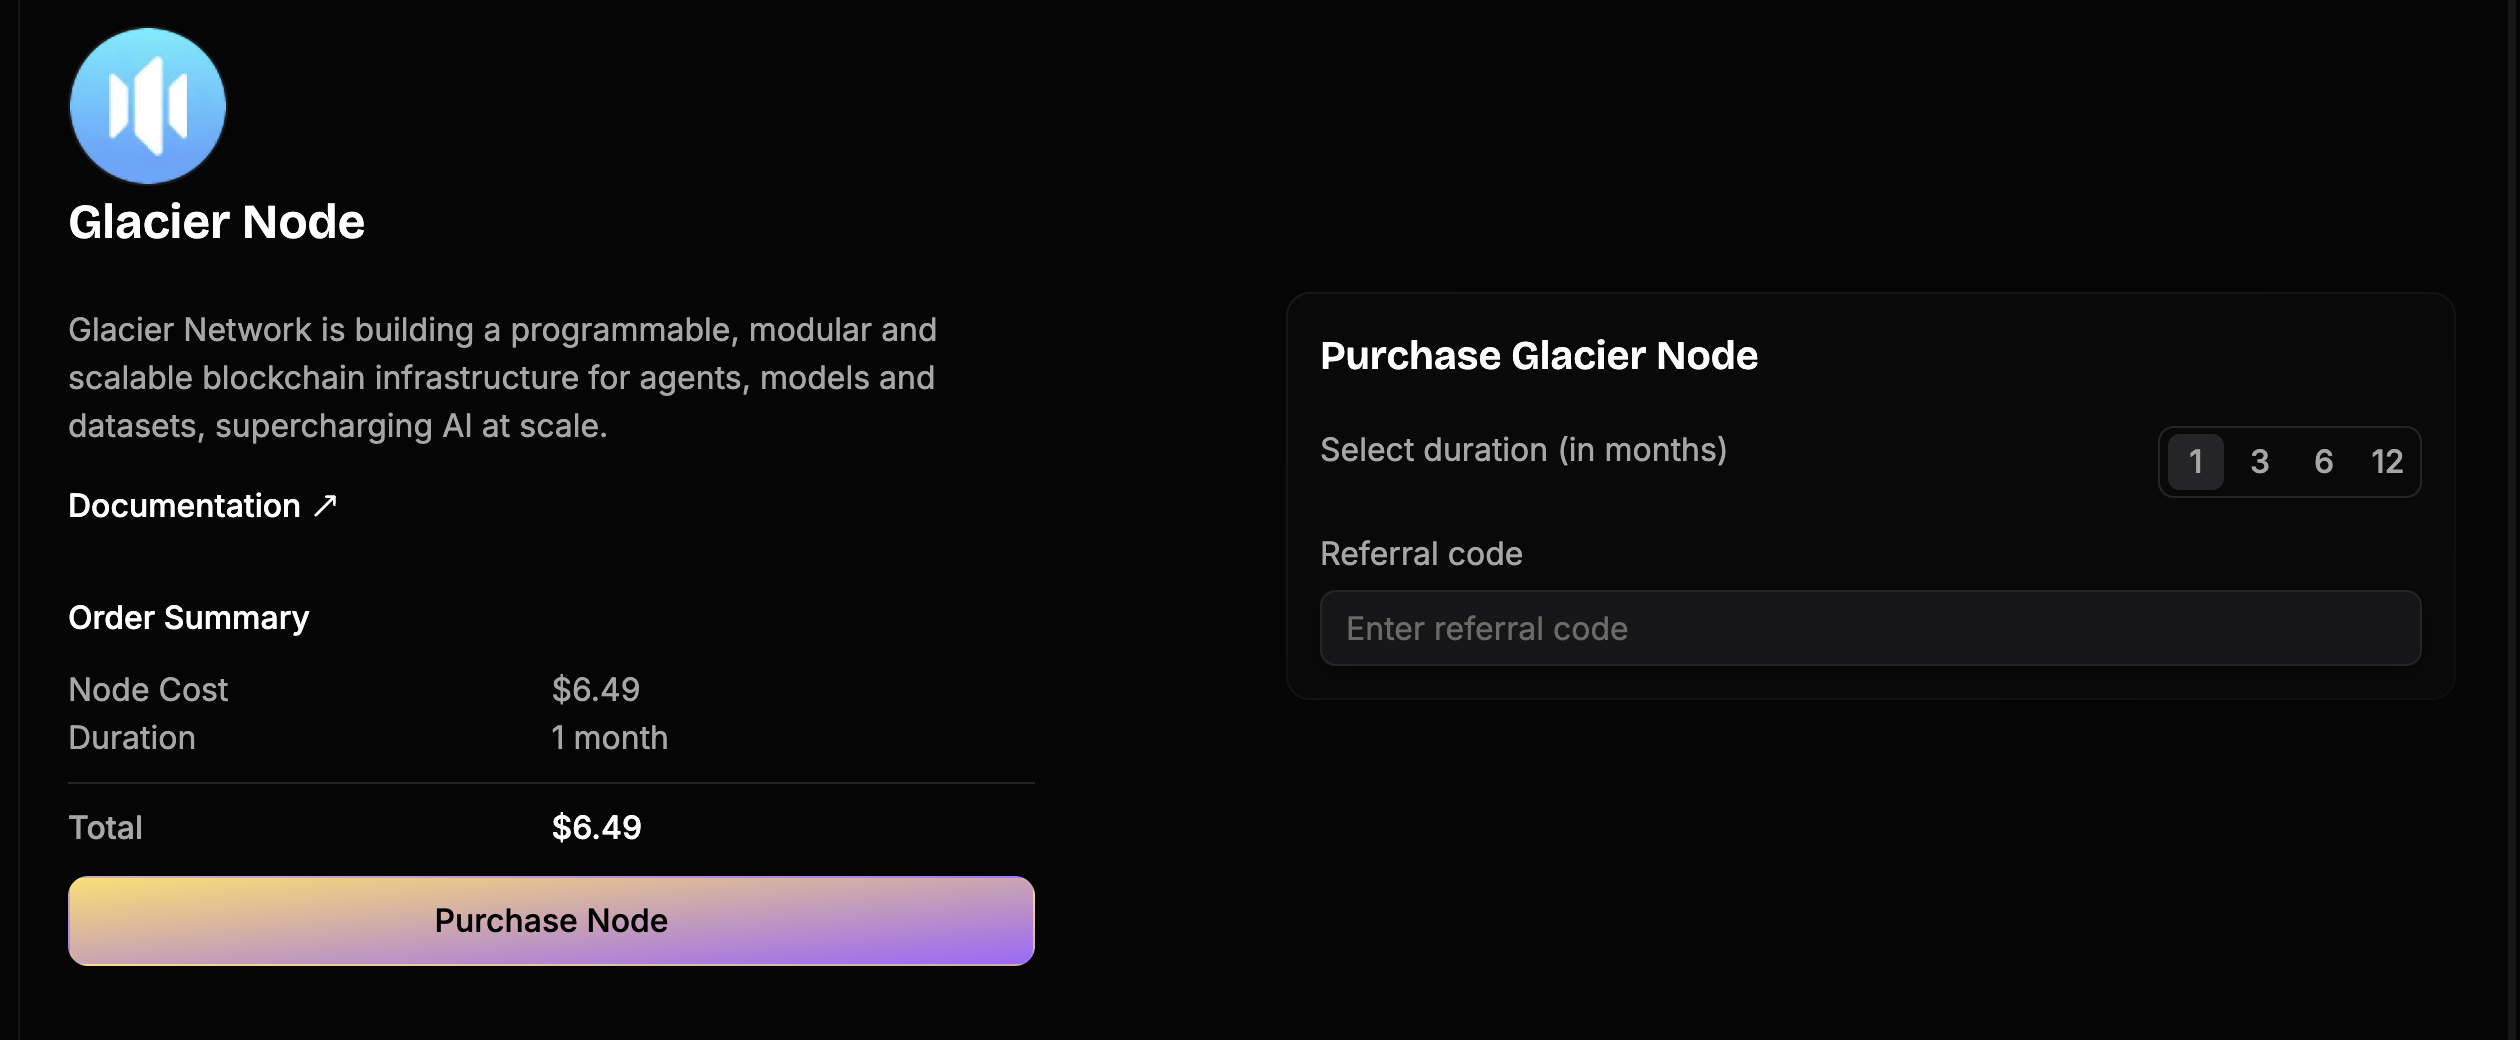
Step 2: Purchase a Glacier Node 💳
-
Navigate to the dashboard after logging in.
-
Select "Glacier" from the list of available nodes.
-
Choose your preferred deployment duration (e.g., monthly or yearly).
-
Complete the purchase.
Your Glacier Node will appear in the "Active Nodes" section once deployed.
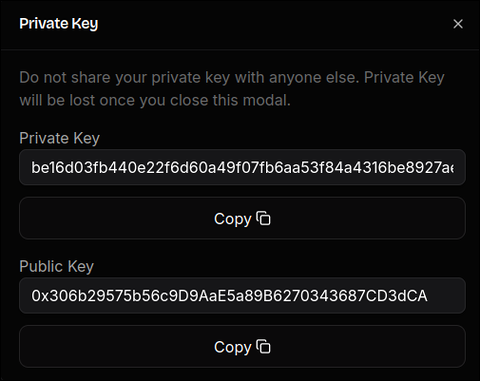
Step 3: Import Your Keys 🔑
-
After deployment, click the "Private Key" button next to your Glacier Node.
-
Verify your identity using an OTP to access your private keys.
How to Use Your Keys:
-
Import the private key into your preferred wallet.
-
Follow the wallet's instructions to complete the import process.
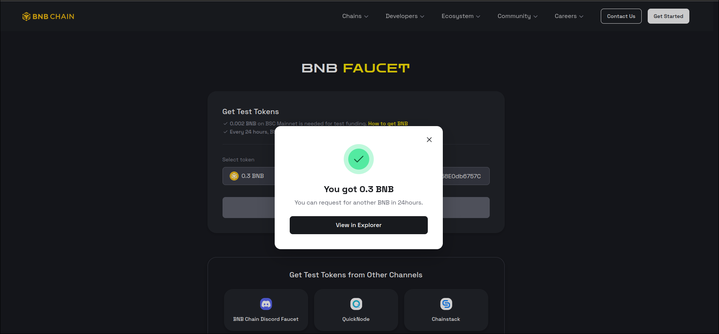
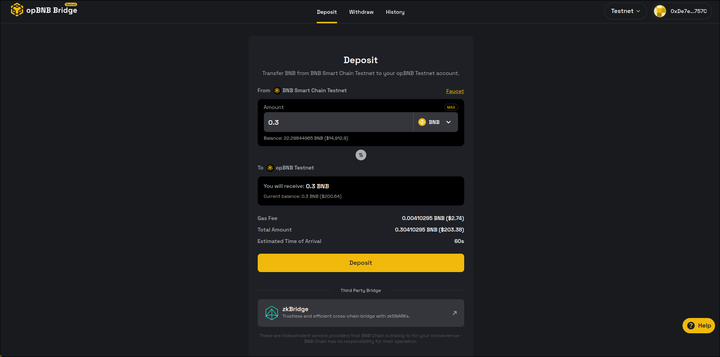
Step 4: Claim Testnet BNB Tokens 🔄
To run the Glacier Node, you need at least 0.05 BNB Testnet tokens.
-
Visit the BNB Testnet Faucet.
-
Enter your MetaMask wallet address and claim the faucet tokens.
-
Ensure the tokens are successfully reflected in your wallet.
-
Bridge the tokens to opBNB using the opBNB Testnet Bridge.
Step 5: Wait for Node Syncing 🕒
Once the setup is initiated, your node will start syncing with the Glacier network.
-
This process may take a few hours.
-
Ensure your wallet is funded and your node setup is complete during this period.
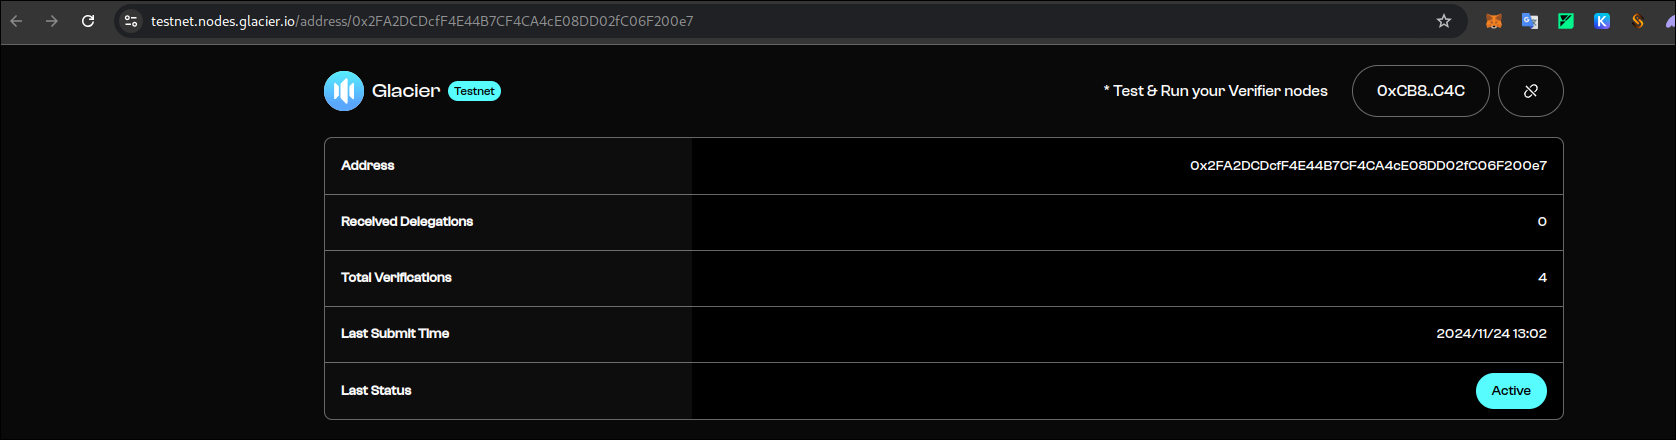
Step 6: Verify Node Status ✅
After syncing is complete, confirm your node is operational:
-
Visit the Node Status Dashboard at: https://testnet.nodes.glacier.io/status/
-
Replace
<Public_Key>with your wallet address. For example:https://testnet.nodes.glacier.io/address/0x2FA2DCDcfF4E44B7CF4CA4cE08DD02fC06F200e7. -
Ensure your node status is marked as "Live."
Congratulations! 🎉
You’ve successfully set up your Glacier Node on RapidNode! By contributing to the Glacier ecosystem, you’re playing a crucial role in shaping the decentralized future while earning rewards and gaining exclusive perks.
If you have any questions or need further assistance, please reach out via our Discord channel or consult our FAQ section on the website
Happy Node Running! 🌟


评论 (0)